Start creating beats and songs in minutes.
No experience needed — it`s that easy.


Make beats and songs in minutes.
Jump in and start creating.
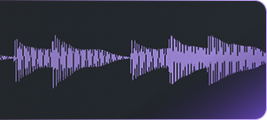
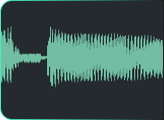
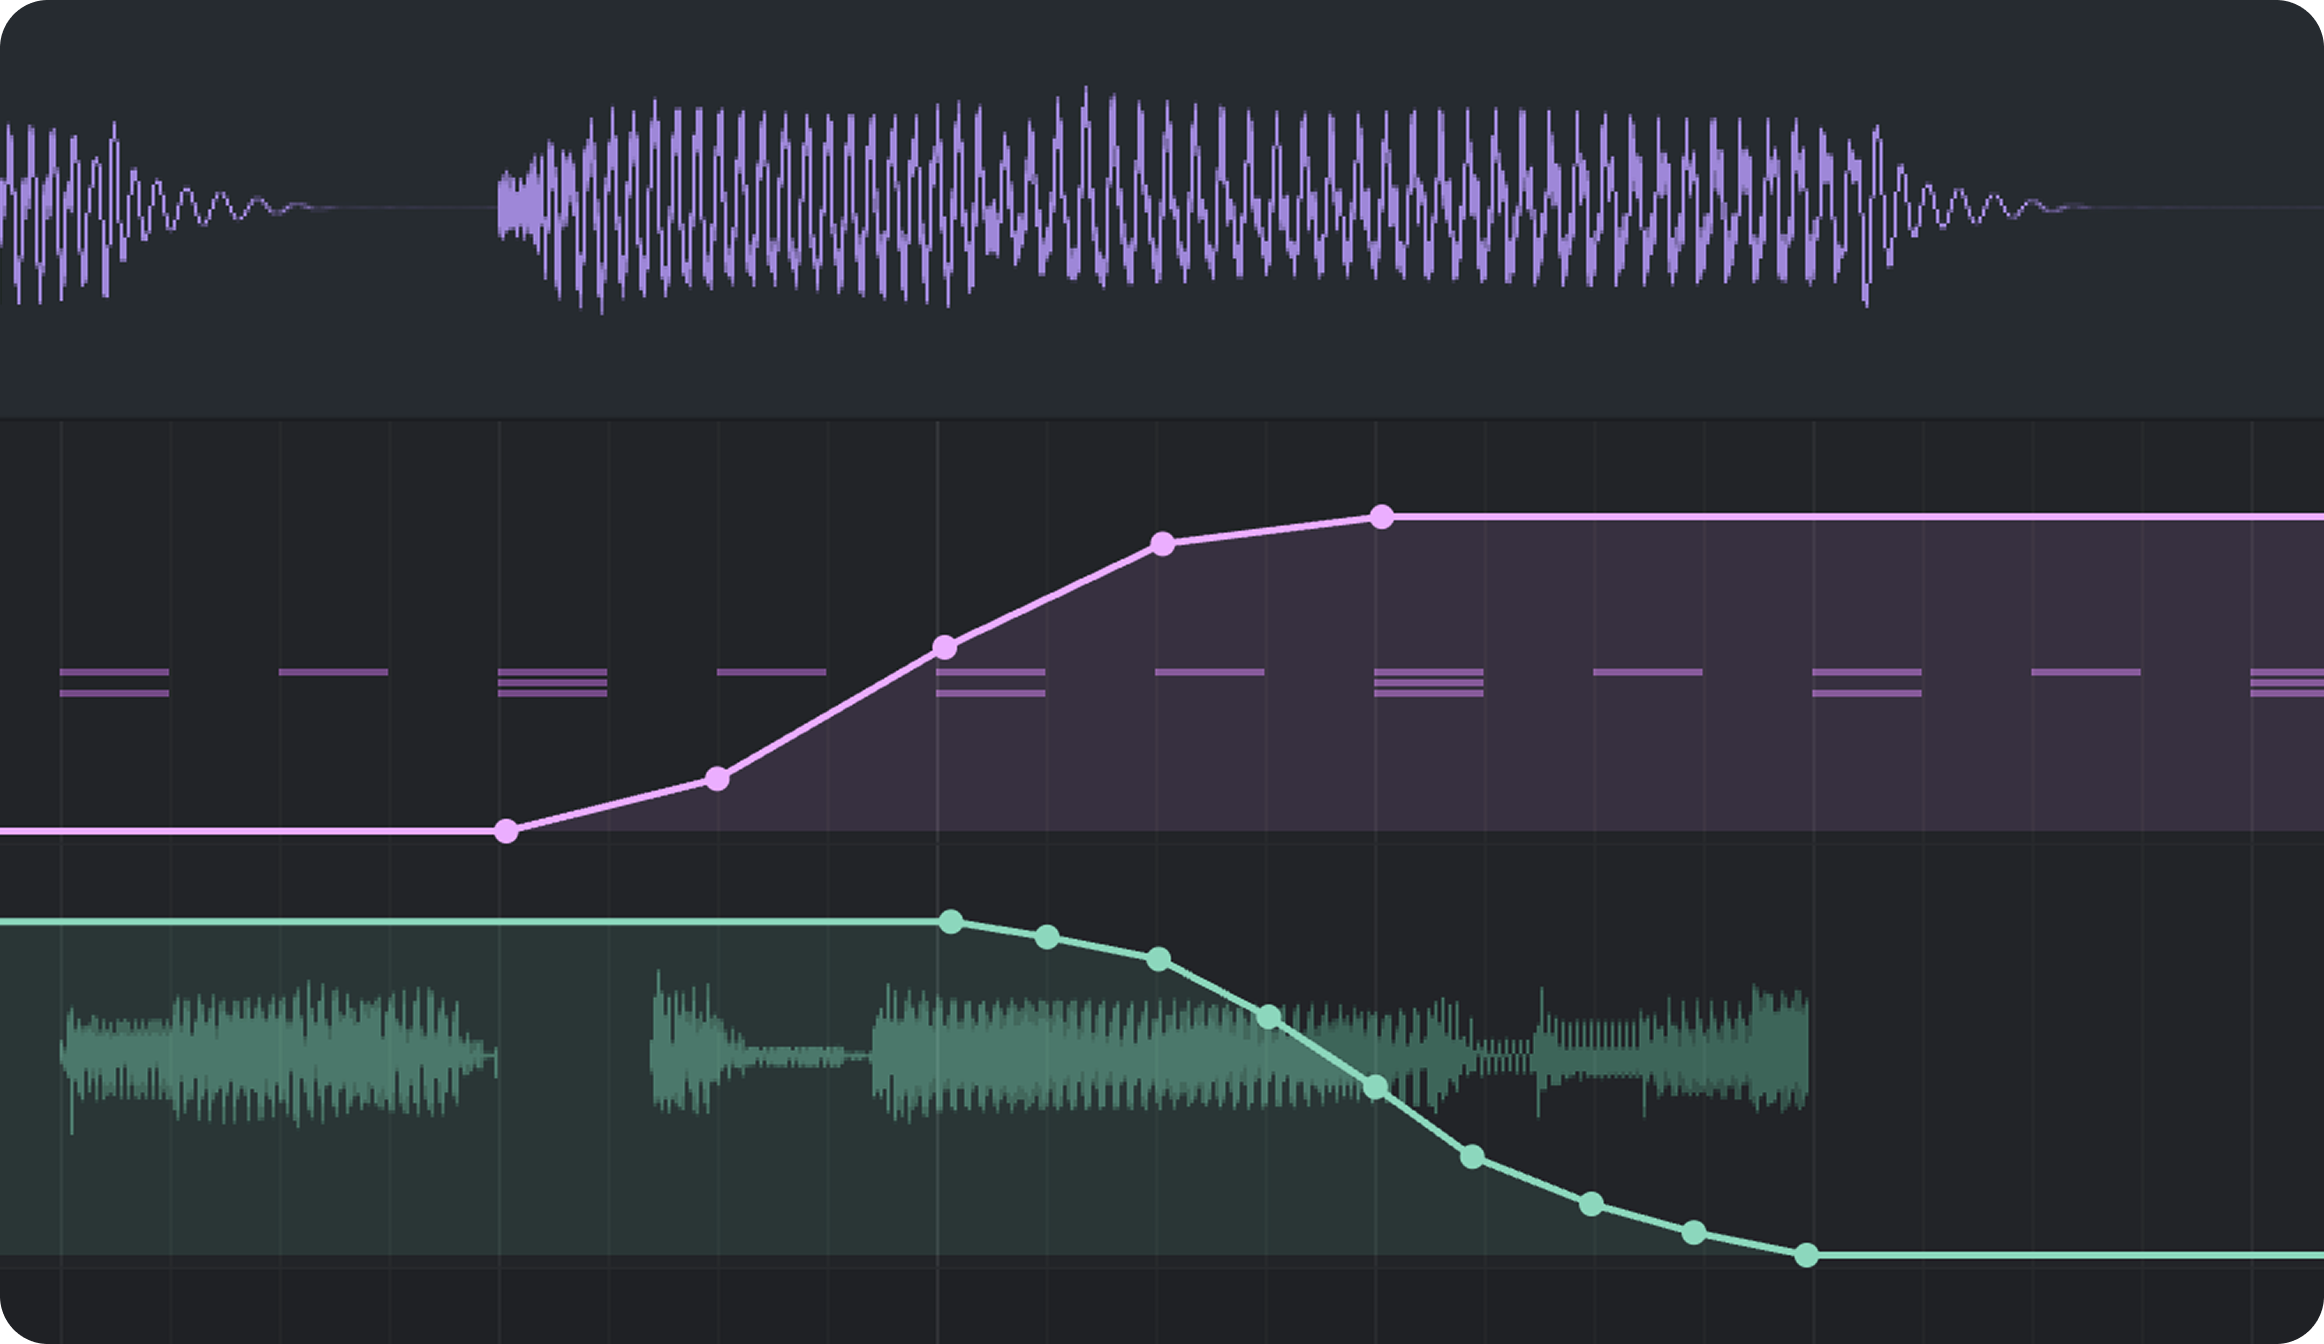
Convert audio to midi, reverse, pitch editing, gain editing,stretching,cutting


Just getting started? Get clear answers to start creating music online.
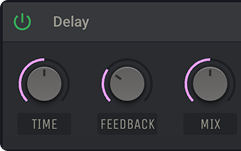
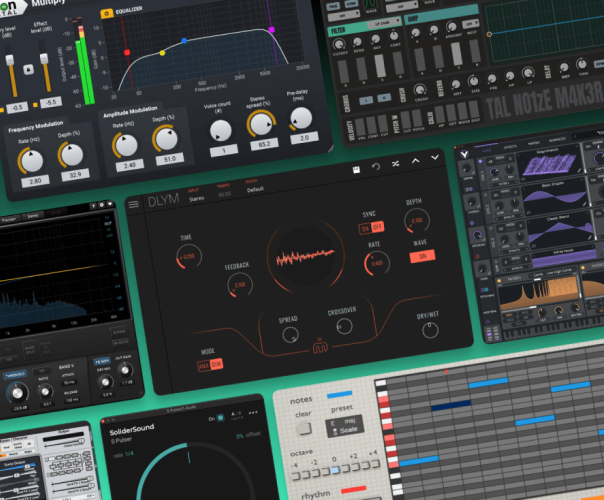
Amped Studio is not a text-prompt-based AI music generator, but it includes advanced AI tools to help you create music online.
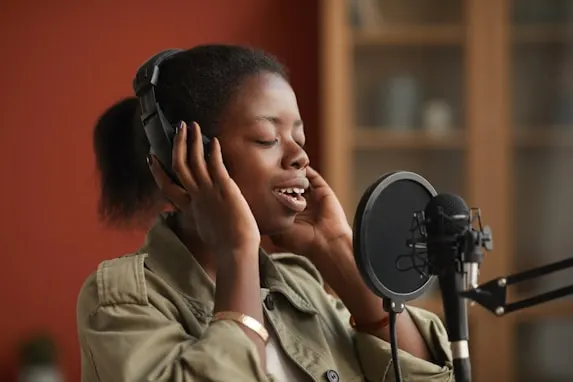
Yes, you can record vocals with a microphone directly onto a track in Amped Studio. Once your vocals are recorded, it's easy to add effects, arrange parts, and edit takes.
Yes, Amped Studio is an ideal song maker for artists of all levels. You can arrange chord progressions, edit MIDI, and mix audio directly in your browser.
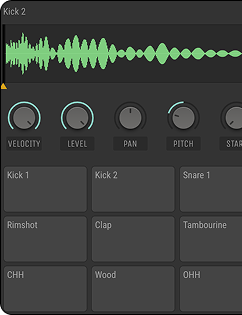
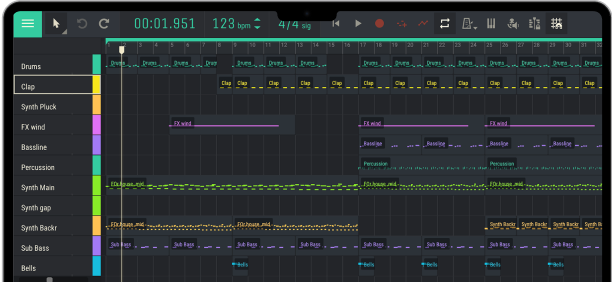
Absolutely. Amped Studio is a powerful online sequencer and beatmaker tool that lets you create rap beats, trap rhythms, and more.
Amped Studio uses cookies to ensure you get the best and most relevant experience.
Read more about how we use cookies in ourPrivacy Policy.