Home Studio Setup for Beginners: Essential Music Production Gear
Author
Antony Tornver
Published
22 Jun 2026
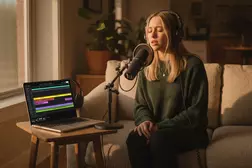
A home studio setup is built around a computer, a DAW (digital audio workstation), an audio interface, headphones, and studio monitors. Depending on the kind of music you make, you may also need a microphone, a MIDI controller, or both. Someone recording vocals needs a mic. Someone producing beats with software instruments benefits from a controller. Neither is required on day one.
You probably already own the most expensive component: a computer. Most computers from the last few years has enough power for music production at the beginner stage. Upgrades become relevant only when your projects get large and CPU-intensive. Everything else on this list is an incremental addition, and the order you buy it in depends on what you're making.
This guide covers the essential music production gear for a home studio setup, explains what each piece does, and helps you figure out what to get first.
Essential Music Production Gear
Every home recording studio setup shares the same core:
Computer (laptop or desktop from the last four to five years)
DAW (the music production software where recording, editing, and mixing happen)
Audio interface (connects external gear to your computer and improves monitoring)
Headphones (your primary listening tool)
Studio monitors (speakers designed for accurate playback)
Optional, depending on workflow:
MIDI keyboard or controller (for programming virtual instruments and beats)
Microphone (for recording vocals or acoustic instruments)
Acoustic treatment (panels and bass traps to improve what you hear from your monitors)
These are the basics of a computer-based music production setup. A home studio can grow in any direction from here: hardware synthesizers and drum machines, outboard effects, samplers, etc. But the foundation listed above is where nearly every home recording studio setup starts.
Computer
If you have a laptop or desktop from the last few years, you most likely have enough to start producing music at home. The recommended minimum is 16 GB of RAM (enough to run several virtual instruments and effects simultaneously; more is better, but this is sufficient on a budget). It makes no practical difference whether you produce on Mac or Windows nowadays. Use the OS you have.
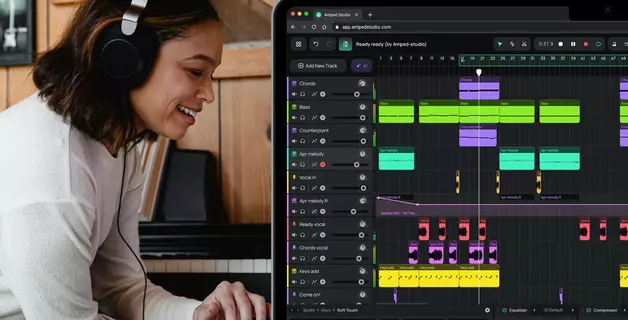
DAW
A DAW is where recording, editing, arranging, and mixing happen. Every other piece of recording equipment feeds into it or plays back from it.
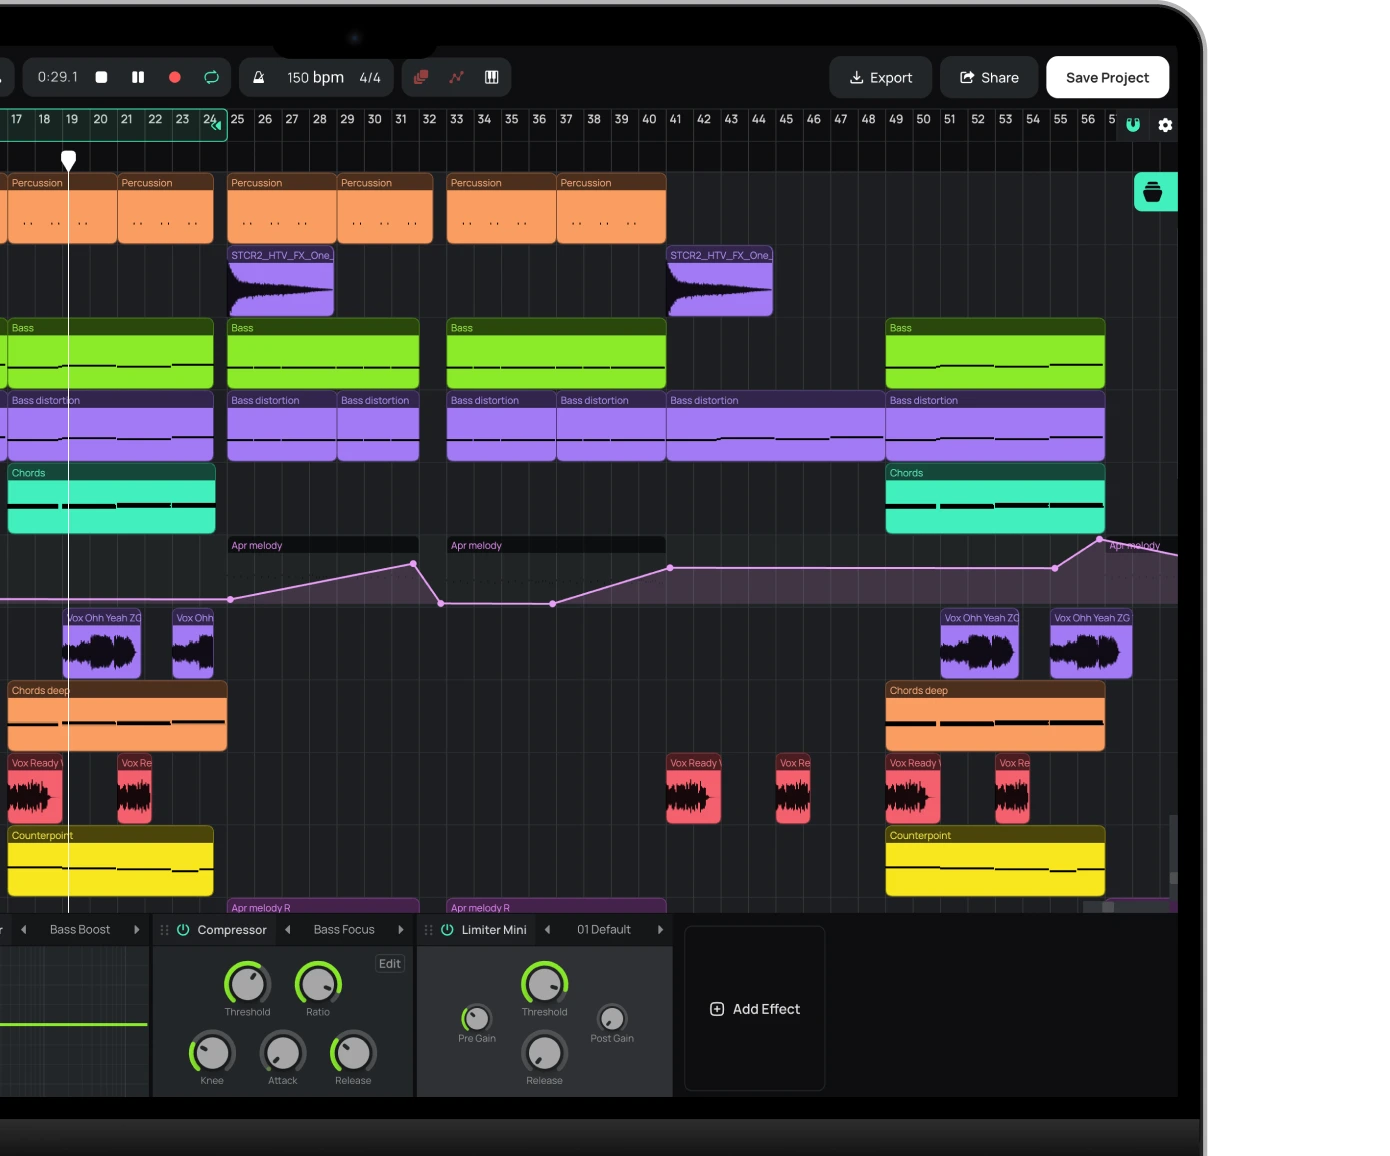
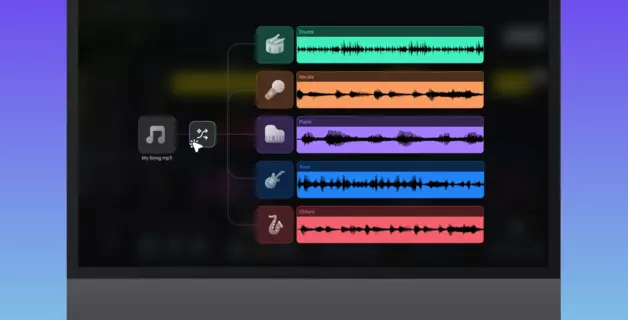
Amped Studio is a browser-based DAW that runs without installation or downloads. It includes built-in instruments, effects, a sound library, and VST plugin support that no other online DAW offers. The Premium tier unlocks the full production toolset as your projects grow.
Amped Studio runs on any operating system with no installation or setup. Open the page, and the instruments, effects, and sound library are ready to use.
If you produce entirely in the DAW with virtual instruments and listen through headphones, you can start without an audio interface. Your computer's built-in audio handles basic playback.
An interface becomes necessary when you want to:
Record a microphone or instrument (interfaces provide XLR and 1/4" inputs with clean preamps)
Connect studio monitors (most monitors use balanced connections that laptops lack)
Reduce latency (the delay between pressing a key on a MIDI controller and hearing the sound)
Plugging your headphones into an audio interface rather than your laptop's headphone jack also does improve playback quality: the converters are better, the output is cleaner. You may not notice a dramatic quality difference at first, but it reveals itself as your ears and your monitoring get better over time. For recording, the impact is more direct: a good preamp introduces less noise into your signal, and better conversion preserves more detail from your microphone or instrument.
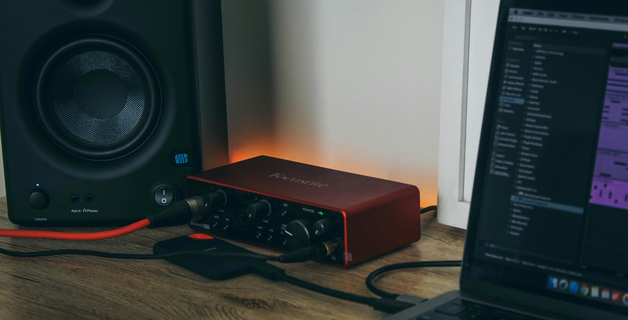
Best Audio Interface for Home Studio
Top pick: Focusrite Scarlett 2i2 (~$170)
Two inputs, clean preamps, stable drivers. The most widely used home recording interface.
Also worth considering:
Focusrite Scarlett Solo (~$120). Same audio quality, one input. Enough for single-source recording.
Universal Audio Volt 2 (~$170). Built-in vintage preamp mode for added harmonic character.
A USB microphone option bypasses the interface entirely and plugs straight into your computer. That works for podcasting and basic vocal demos but offers no instrument input and no upgrade path for the preamp or converter.
Microphone
Not every home studio needs a microphone. If you produce beats or electronic music entirely with samples and virtual instruments, skip this section.
For recording vocals and acoustic sources, the main choice is between two microphone types. A condenser microphone captures more detail but also picks up room noise. A dynamic microphone is less sensitive, rejects ambient sound, and works better in untreated rooms.
Best Microphones for Home Studio
Top pick: Audio-Technica AT2020 (condenser, ~$100)
The entry-level standard for vocal recording. Bright, detailed, forgiving of imperfect rooms. Requires phantom power from your audio interface.
Also worth considering:
Shure SM58 (dynamic, ~$100). Better for untreated or noisy rooms. Nearly indestructible.
Rode NT1 (condenser, ~$270). Lower self-noise, more balanced response for quieter rooms.
Headphones
Closed-back studio headphones isolate your ears and prevent sound leakage. They are necessary for recording sessions (to keep the click track out of the microphone) and useful for producing at any hour without disturbing anyone. Open-back headphones let air through the ear cups, producing a wider stereo image. They are better for mixing and critical listening but leak sound and cannot be used during recording. A first pair should be closed-back.
Best Headphones for Music Production
Top pick: Beyerdynamic DT 770 Pro (closed-back, ~$160)
Comfortable for long sessions, solid isolation, honest frequency response. Available in 80-ohm (works with most audio interfaces) and 250-ohm versions.
Also worth considering:
Audio-Technica ATH-M50x (closed-back, ~$150). Folds flat for portability. Slightly more bass presence.
Sony MDR-7506 (closed-back, ~$100). Lighter, leaner low end. Long history in film and broadcast.
Studio Monitors
Studio monitors are speakers built for flat, accurate frequency response. Unlike consumer speakers or headphones, they do not boost bass or treble to make music sound more exciting. They show you what is in your mix, including the problems.
Headphones and monitors reveal different things about a mix. Headphones excel at showing you fine detail, stereo placement, and problems you might miss at low volume. On the other hand, monitors will be better at showing you how the low end translates, how loud elements interact, and what the mix sounds like in a room rather than sound inside your head. Most producers use both.
Top pick: Yamaha HS5 (~$200 each)
Flat, honest, unsweetened. The home studio reference standard.
Also worth considering:
PreSonus Eris E3.5 (~$100/pair). The most affordable monitor speakers worth considering. Smaller drivers, less bass extension.
KRK Rokit 5 G4 (~$175 each). More bass response out of the box. Popular for beat making.
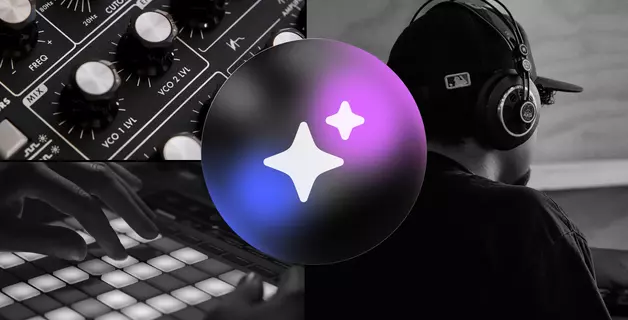
MIDI Controllers
A MIDI keyboard or controller sends note data to your DAW, where virtual instruments generate the audio. Compact 25-key controllers (Akai MPK Mini, Arturia MiniLab 3, $80 to $120) suit beat making and melody sketching. Larger 49 to 61-key controllers allow two-handed playing. Pad controllers (Akai MPC, Native Instruments Maschine) are built for finger drumming and sample triggering.
A MIDI controller is an optional workflow preference rather than a must-have. Plenty of producers make finished professional tracks using only the piano-roll-style MIDI editor.
Acoustic Panels
Room acoustics determine how accurately your studio monitors represent your mix. In a small untreated room, sound reflects off walls, ceiling, and furniture, creating frequency imbalances at your listening position. You hear a version of your mix colored by the room rather than the mix itself, and any decisions you make based on that are compromised.
Bass traps are the single most effective treatment. Thick absorption (4 inches minimum of mineral wool) placed floor to ceiling in room corners addresses low-frequency buildup, which is the most common and most damaging acoustic problem in small rooms. After corners, absorption panels at the first reflection points on side walls and behind your monitors reduce mid and high-frequency reflections.
How to Build a Home Studio
The fastest way to figure out what gear you need is to start making music with what you already have. If you own a computer and headphones, open Amped Studio in your browser and start a project. No installation, no upfront cost at the free tier. The limitations you encounter will point directly at your next purchase. If you need to record vocals, an audio interface and microphone come first. If your mixes sound different on every playback system, monitors and acoustic treatment are the priority. Let your music workflow guide the decisions rather than a shopping list.
A computer, a DAW, and headphones. That is enough to produce complete tracks with virtual instruments and samples. Add an audio interface and microphone when you need to record vocals or acoustic instruments. A MIDI controller is helpful but not required.
It connects microphones, instruments, and studio monitors to your computer. It converts analog signals to digital for recording and digital back to analog for playback. For producers who work entirely with software instruments and headphones, it is optional at the beginner stage.
Headphones are enough to produce and mix music, and many professionals rely on them exclusively. Monitors let you hear how a mix translates in a physical room, which headphones cannot simulate. The most important habit is checking your mixes on several different playback systems regardless of what you use as your primary monitoring.
A beginner home studio setup fits in a bedroom corner. You need room for your computer, an audio interface, headphones, and potentially a MIDI controller on a desk. Studio monitors require some distance from walls for accurate bass response. Acoustic treatment panels mount on walls or stand freely without permanent installation.
Apartments work well for home studios. Headphones let you produce and mix at any hour without noise complaints. If you record vocals, a dynamic microphone picks up less ambient noise (neighbors, traffic, building systems) than a condenser microphone. Acoustic treatment panels and bass traps can be set up with freestanding frames or removable adhesive, with no permanent modifications needed.
Author
Antony Tornver
Published
22 Jun 2026
audio tech
Make Music Now.
No Downloads, Just
Your Browser.
Start creating beats and songs in minutes. No experience needed — it's that easy.