Clip audio
Una clip contenente dati audio registrati o importati. Le clip audio vengono inserite nelle tracce audio sulla timeline dell'arrangiamento.
Traccia audio
Una traccia per lavorare con i file audio. L'audio può essere importato dal computer o registrato direttamente da un microfono o da un'interfaccia audio. I formati di file supportati per l'importazione includono WAV, MP3, OGG, FLAC e AIFF.
Automazione
Una corsia sulla timeline dell'arrangiamento che registra come un parametro cambia nel tempo, come il volume o il cutoff di un filtro. La forma della linea di automazione determina come il parametro si muove durante la riproduzione.
Bounce in Place
Una funzione nell'Editor audio che esegue il rendering del clip corrente e di tutti i suoi campioni, comprese eventuali modifiche apportate con l'Editor di intonazione, l'Editor di guadagno e l'Inversione, in un unico nuovo file audio che sostituisce il clip in posizione.
Bounce su nuova traccia
Una funzione nel menu contestuale della clip che esegue il rendering di una clip con tutti gli effetti applicati in un nuovo file audio posizionato su una nuova traccia.
BPM
Abbreviazione di Beats Per Minute (battiti al minuto). L'unità utilizzata per misurare il tempo del progetto.
Dimensione buffer
Impostazione audio che controlla la dimensione del buffer di elaborazione audio. Valori più bassi riducono la latenza; valori più alti riducono il carico della CPU.
Creatore di accordi
Un pannello all'interno dell'Editor di note per generare e inserire progressioni di accordi in una clip MIDI.
Clip
L'unità di base del contenuto sulla timeline dell'arrangiamento. I clip contengono dati audio o MIDI e, nel caso degli Smart Clip, le impostazioni dei dispositivi. Vedi anche Clip audio, Clip MIDI, Smart Clip.
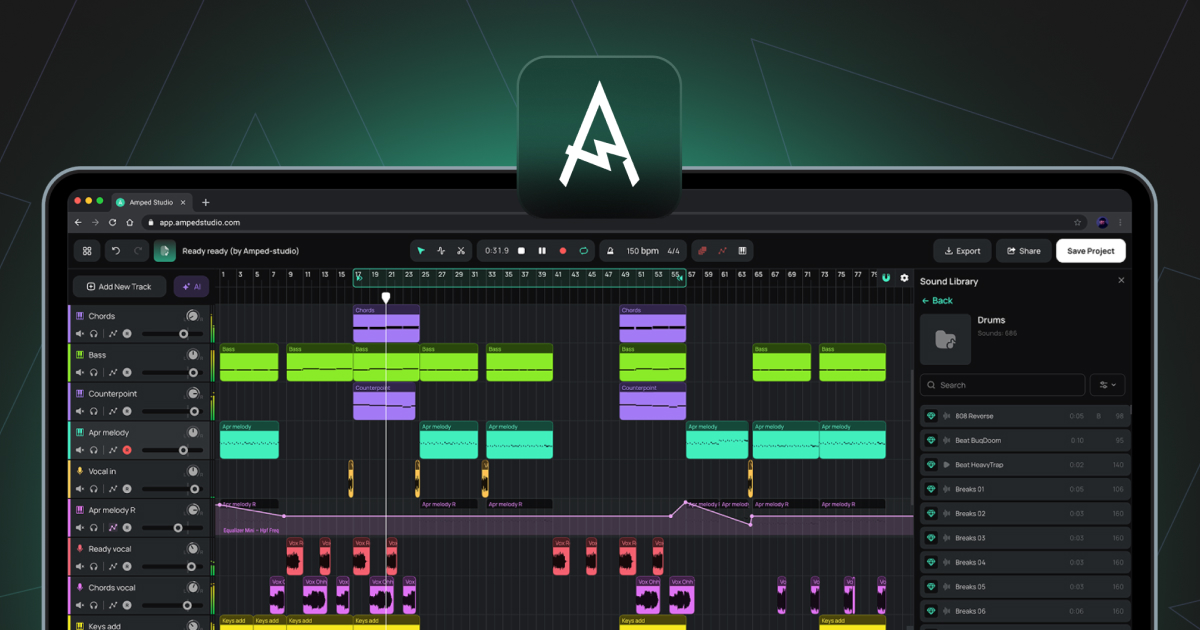
DAW
Abbreviazione di Digital Audio Workstation. Ambiente software per la registrazione, l'editing, l'arrangiamento e il missaggio di audio e MIDI. Amped Studio è una DAW basata su browser.
Pannello Dispositivi
Il pannello nella parte inferiore di Studio che mostra la catena di strumenti ed effetti per la traccia attualmente selezionata. Funziona in due modalità: Catena di dispositivi standard o Pannello Super Preset.
Editor di guadagno
Un pulsante nell'Editor audio che attiva una linea orizzontale sopra la forma d'onda per regolare il volume del campione selezionato in decibel.
Latenza
Il ritardo tra un ingresso audio, come un microfono o un controller MIDI, e l'uscita audio. Controllato tramite Dimensione buffer e Compensazione latenza registrazione nelle Impostazioni.
Traccia Master
La traccia in fondo all'elenco delle tracce che somma tutte le altre tracce in un'unica uscita stereo. Gli effetti aggiunti alla traccia master vengono applicati all'intero mix.
MIDI
Abbreviazione di Musical Instrument Digital Interface. Un protocollo standard per la trasmissione di informazioni musicali tra dispositivi e software. A differenza dell'audio, il MIDI non contiene suoni. Contiene dati relativi alle note, come quali note vengono suonate, quando e con quale velocità, che uno strumento virtuale utilizza poi per generare l'audio.
Clip MIDI
Una clip contenente dati relativi alle note MIDI. Le clip MIDI vengono inserite nelle tracce degli strumenti e riprodotte dallo strumento virtuale caricato.
Editor di note
L'editor che si apre quando si fa doppio clic su una clip MIDI. Viene utilizzato per disegnare, modificare e arrangiare le note MIDI in una vista piano roll.
Piano roll
La vista a griglia all'interno dell'Editor di note in cui vengono visualizzate e modificate le note MIDI. L'asse verticale rappresenta l'altezza del suono; l'asse orizzontale rappresenta il tempo.
Editor di intonazione
Un pulsante nell'Editor audio che attiva una linea orizzontale sopra la forma d'onda per regolare l'intonazione del campione selezionato in semitoni.
Testina di riproduzione
La linea verticale sulla timeline dell'arrangiamento che indica la posizione di riproduzione corrente.
Quantizza
Una funzione nell'Editor delle note che allinea le posizioni di inizio delle note MIDI selezionate alla linea della griglia più vicina.
Campione
In generale, qualsiasi frammento audio registrato. Nel contesto dell'Editor audio, un campione è un segmento creato tagliando una clip audio con lo strumento Dividi. Questi segmenti possono essere riposizionati liberamente all'interno dei confini della clip senza influire sulla posizione o sulla lunghezza complessiva della clip sulla Timeline dell'arrangiamento.
Clip intelligente
Una clip salvata insieme alle impostazioni della catena di dispositivi della sua traccia. Le clip intelligenti possono essere create sia da clip audio che da clip MIDI. Per una clip MIDI, le impostazioni salvate includono lo strumento e gli eventuali effetti. Per una clip audio, le impostazioni salvate includono gli eventuali effetti applicati alla traccia. Gli Smart Clip possono essere salvati nella Libreria dei suoni e riutilizzati in diversi progetti. Creare nel tempo una raccolta dei propri Smart Clip consente di disporre di una libreria personale di suoni e idee già realizzati, pronti per essere utilizzati in qualsiasi progetto futuro.
Stem
Un file audio isolato contenente un singolo gruppo di strumenti separato da una registrazione mixata, come voce, batteria, basso o altro. Gli stem sono prodotti dall'AI Splitter, accessibile tramite AI Tools nel menu principale o tramite il pulsante viola scintillante AI Tools a sinistra della timeline dell'arrangiamento.
Super Preset
Una combinazione preconfigurata di uno strumento virtuale e una catena di effetti, con i parametri chiave per la modellazione del suono visualizzati in un pannello di controllo unificato. Può essere caricato tramite + Aggiungi nuova traccia o tramite il pulsante + Super Preset nella barra laterale del pannello Dispositivi.
Velocità
Un valore associato a ciascuna nota MIDI che rappresenta la forza con cui viene suonata la nota. Valori di velocity più alti producono generalmente un suono più forte o più brillante, a seconda dello strumento. Si modifica utilizzando le barre di velocity nel pannello Velocity all'interno dell'Editor delle note.
Tastiera virtuale
Una funzione che consente l'inserimento di note MIDI utilizzando la tastiera QWERTY del computer. Attivabile con (Cmd/Ctrl+K), accessibile dalla barra degli strumenti.
VST3
Formato di plugin per strumenti virtuali ed effetti sviluppato da Steinberg. Amped Studio supporta i plugin VST3 tramite il bridge VSTremote con gli abbonamenti Premium e Premium + AI.