Home recording studio
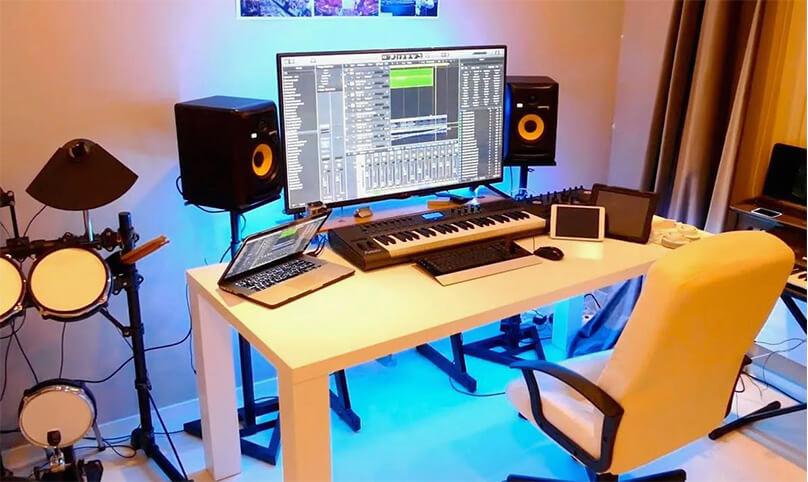
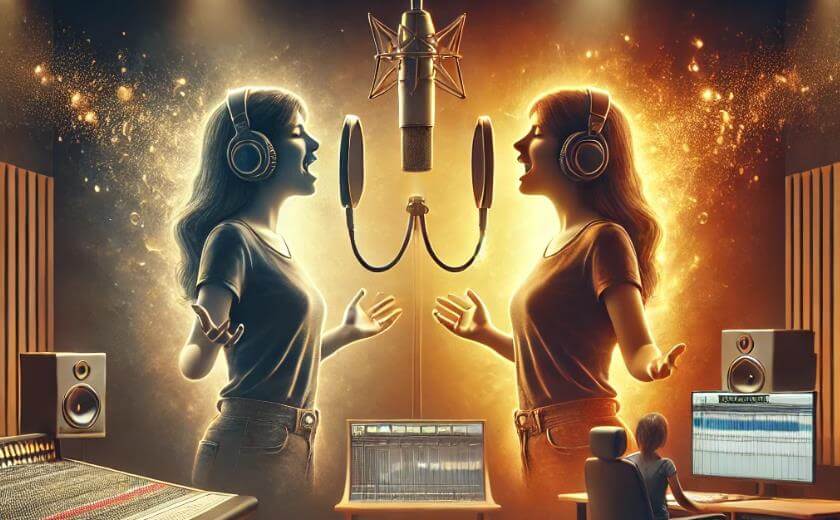
If you’re working on recording music, narrating videos, or creating audiobooks, then a home studio can become your workspace. Setting up and equipping your own studio is entirely doable—all you need is some planning and a bit of motivation.
There are two main approaches to setting up a home studio:
- First — the in-room studio. This is a compact setup where all necessary equipment is arranged in a corner of a room and can be easily put away when needed. This option works well if recording is more of a hobby or occasional activity for you;
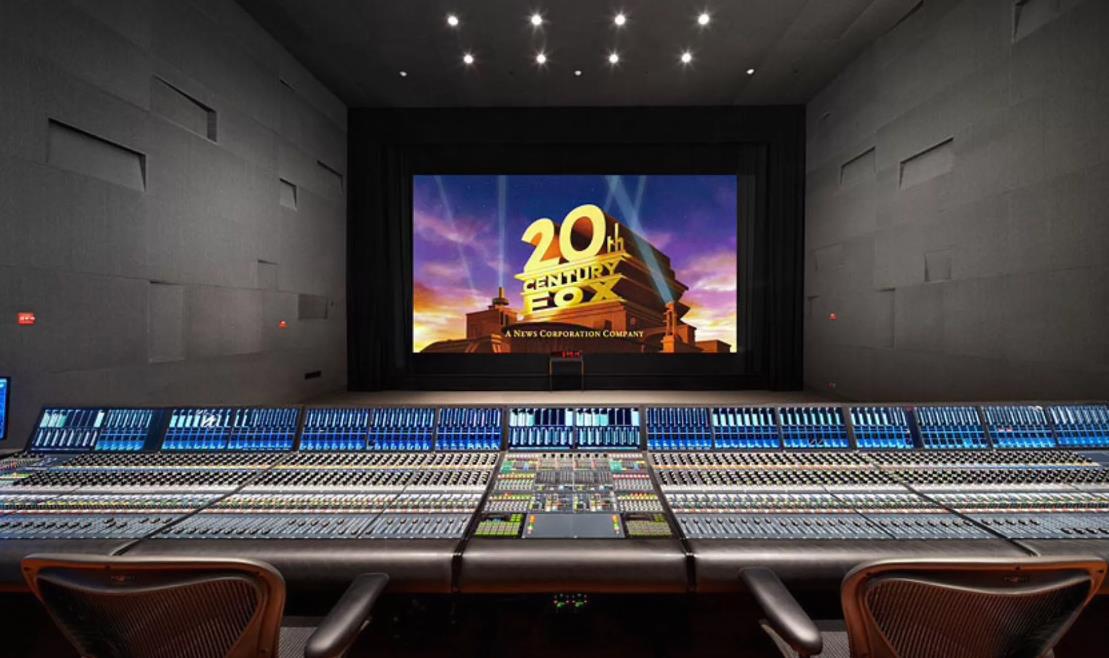
- Second — a dedicated studio. This could be a small space, like a closet that fits a computer desk, or even a full room equipped with specialized furniture. Another option is installing a vocal booth directly in your apartment, which is ideal if you’re planning to pursue recording professionally.
Budget-Friendly Home Studio: Can You Achieve Quality on a Budget?
A home studio doesn’t need to be expensive to sound professional. This doesn’t mean opting for the cheapest equipment available but rather planning your budget strategically. It’s important to spend where necessary and save where practical.
Choosing equipment can feel overwhelming, especially if you’re just starting out. With the vast array of options and persuasive marketing, it’s easy to get lost. That’s why we’ve put together a checklist of essential equipment for setting up a home studio, helping you get everything you need effectively while keeping costs down. Here are the main categories:
- Space;
- Computer (system, RAM, storage);
- Audio interface;
- Studio monitors;
- DAW (Digital Audio Workstation);
- Microphones;
- Headphones and headphone amp;
- MIDI keyboard;
- Cables, stands, and accessories;
- Room treatment.
10 Steps to Setting Up a Home Recording Studio
1. Choosing the Right Space
The size of your studio will largely depend on what you plan to achieve. If your goal is to record a band or a drum set, you’ll need a spacious room that can accommodate both people and equipment. In that case, consider options like a garage or a roomy basement.
For solo musicians, songwriters, or electronic music producers, smaller spaces can work just as well—think a spare bedroom or an extra room. If your recording needs are limited to vocals, guitar, or keyboards with just one or two people at a time, a standard room should be ideal.
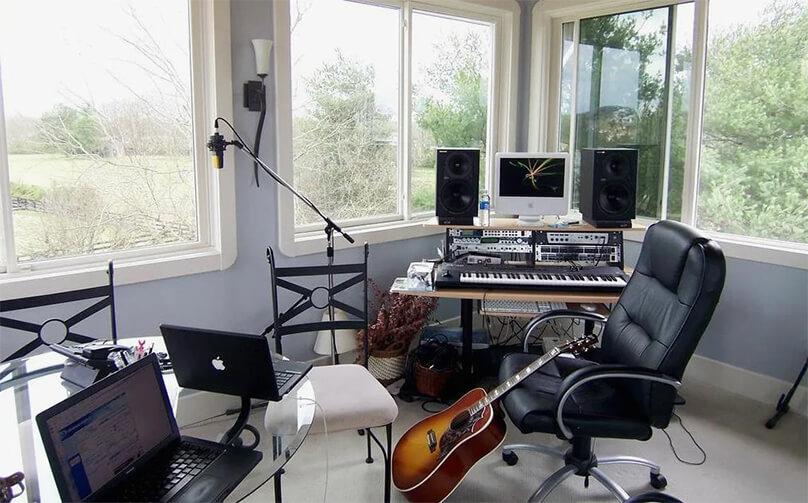
If mixing is the main focus of your home studio, then acoustics become even more important. You’ll want to fine-tune your speaker setup, add acoustic treatment, and generally work on improving the sound quality. We’ll cover all the specifics of acoustic treatment in the next sections.
When planning your space, try to avoid rooms with low ceilings and square dimensions. Low ceilings cause sound reflections, leading to muddier recordings. In such cases, acoustic treatment on the ceiling is essential, so be sure to budget for that. Square rooms are also less than ideal, as parallel walls can create “null points” where certain frequencies cancel out, leading to “dead” spots in the sound. This can interfere with accurate mixing and your overall sound clarity.
2. Choosing and Building Your Computer
Technically, any modern consumer-grade PC or business laptop can handle basic music recording and production. However, as your projects get more complex, a low-power system can quickly become a bottleneck. Nothing kills creativity faster than a lagging computer.
To avoid this, it’s best to invest in a powerful computer with a 64-bit operating system that can handle multiple tracks, plugins, and large sample libraries without slowing down. Set a reasonable budget for this—it’s the foundation on which your entire studio will rely.
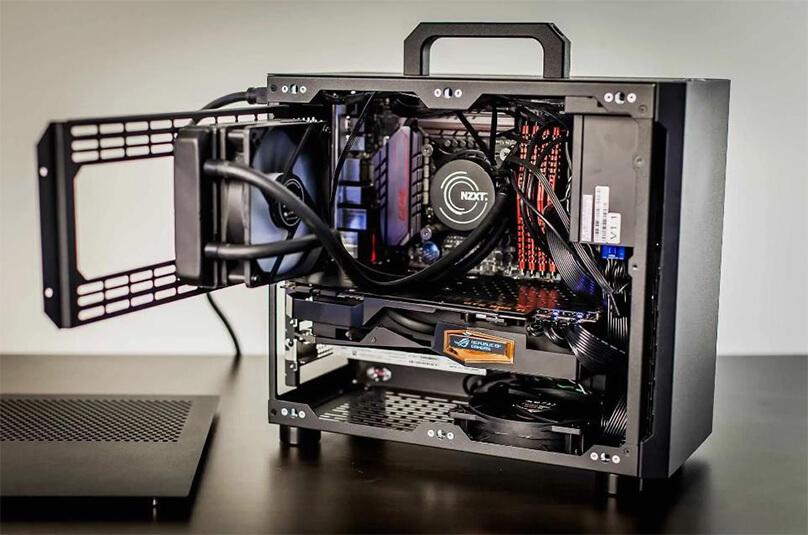
If you’re working with electronic music or synth-based sounds that don’t require extensive sample libraries, you may get by with slightly lower specs, but even then, 16-32GB of RAM and a solid processor will make your workflow smoother. Whenever possible, go for the best you can afford.
When deciding between a desktop and a laptop, consider your specific needs. If mobility is a priority, a laptop may be your best bet. It lets you take your studio on the go and make it mobile when necessary.
Key Criteria for Choosing a PC or Laptop for a Home Studio:
- Powerful Processor and Speed. The minimum requirement for smooth performance is a quad-core processor, like an Intel Core i3 or better;
- Quiet Operation. The system should run quietly, and regular fan maintenance will help keep unwanted noise at bay;
- Screen Size. The larger, the better—it’s essential for editing tracks comfortably in any DAW.
Storage Options: SSD or HDD?
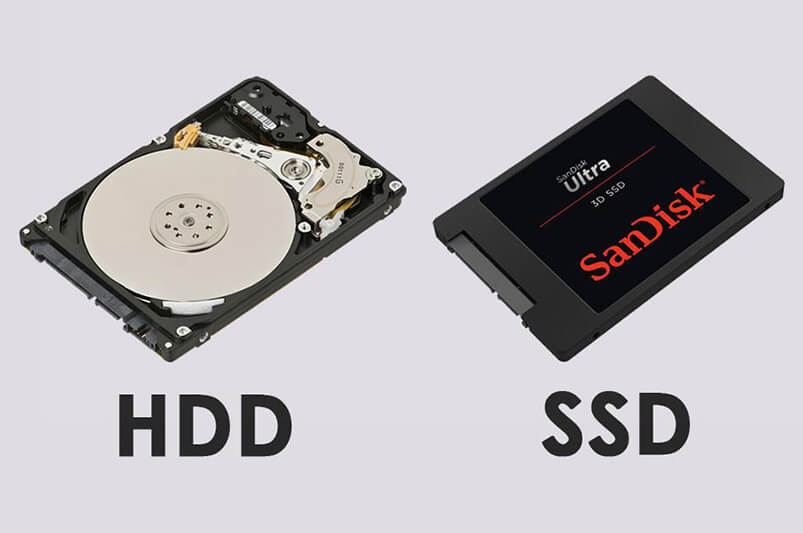
For recording and storing large audio files, start with at least 1TB of internal storage and add external drives as you go. An SSD is ideal for the OS and main programs, while an HDD can serve as secondary storage for large files and sample libraries. A hybrid setup with a smaller SSD and a larger HDD is a smart choice if you’re on a budget.
Graphics Card – Not Essential
A dedicated graphics card isn’t necessary for audio work unless you plan to do graphic-intensive tasks like video editing or 3D animation. However, ensure that your system’s integrated graphics are high quality, as most audio software has visual elements.
Budget-Friendly Options: Pre-Built, Custom-Built, or Mac
If you’re eyeing a Mac, be prepared to stretch the budget—it’ll likely start at around $1300 to $2000, depending on the model. However, building a custom PC by purchasing individual components can save you money, giving you a powerful setup for less. Laptops with similar specs are also available but tend to be pricier and offer less power than a desktop at the same price point. A laptop with a 15-inch screen is ideal if portability is a priority and if you plan to use it for live performances as well.
3. Choosing an Audio Interface
An audio interface is essential for connecting analog sound to your computer’s digital environment. When selecting an interface, consider how many sources you’ll need to record simultaneously. The primary difference among models is the number of inputs and outputs: the more inputs, the more mics or instruments you can record at once.
As for outputs, most home studios use a single pair of studio monitors, which requires only two outputs. However, professional audio engineers may need multiple reference monitors or external equipment, in which case an interface with at least four outputs is necessary.
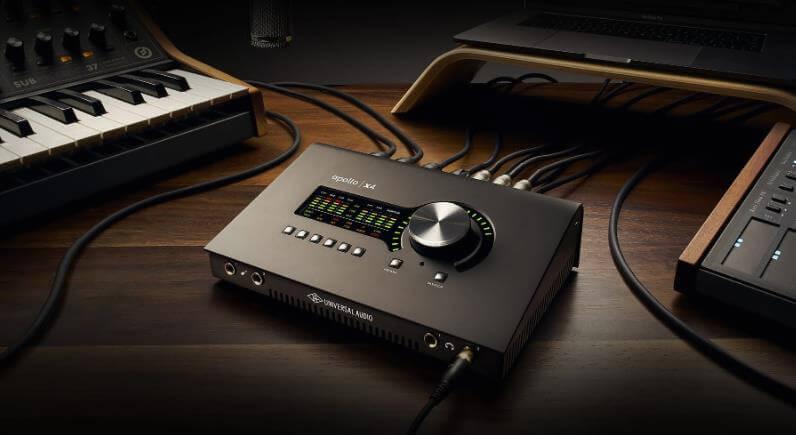
If you’re recording just one or two sources simultaneously—like vocals and guitar—two inputs should be sufficient. Most entry-level interfaces are equipped with two inputs, making them ideal for smaller studios.
Key Considerations When Choosing an Audio Interface:
- Number of Inputs and Outputs. For most home setups, two or four channels are adequate. If you’re recording a full band, you might need up to 16 inputs. It’s also important to have separate, adjustable outputs for headphones and mics;
- Input Types. Pay attention to input types, as they determine compatibility with microphones and instruments. Microphone inputs allow for direct mic connection, while line inputs may need preamps. Optical inputs also require a preamp and converter when used for microphones;
- Connection Type. Audio interfaces connect via PCI Express, USB, or FireWire. FireWire provides high-speed data transfer, but USB is the most common and affordable option, even if it’s slightly slower;
- ASIO Support. This protocol ensures low-latency data transfer, crucial for high-quality recording. All professional-grade interfaces should support ASIO;
- Signal-to-Noise Ratio. A good starting point is 100 dB or higher to maintain clean audio quality;
- Sample Rate. Ideally, your interface should support sample rates between 44.1 and 96 kHz for detailed audio resolution;
- Bit Depth. A 24-bit audio interface is essential for recording and editing with high-quality sound;
- Phantom Power and MIDI Support. If you need to connect instruments or MIDI devices, look for an interface with phantom power for mics and MIDI compatibility.
4. Connecting Studio Monitors
Studio monitors are designed to deliver an acoustically flat or neutral sound, meaning no frequencies are artificially boosted or cut. This allows you to hear your music as accurately as possible so that it sounds great across various playback systems without losing its reference quality.
High-quality monitors are essential for a home studio, especially if you plan on mixing and mastering. Choosing the right type and size, however, can be tricky, as it will depend on the specifics of your space and the sound you’re aiming for.
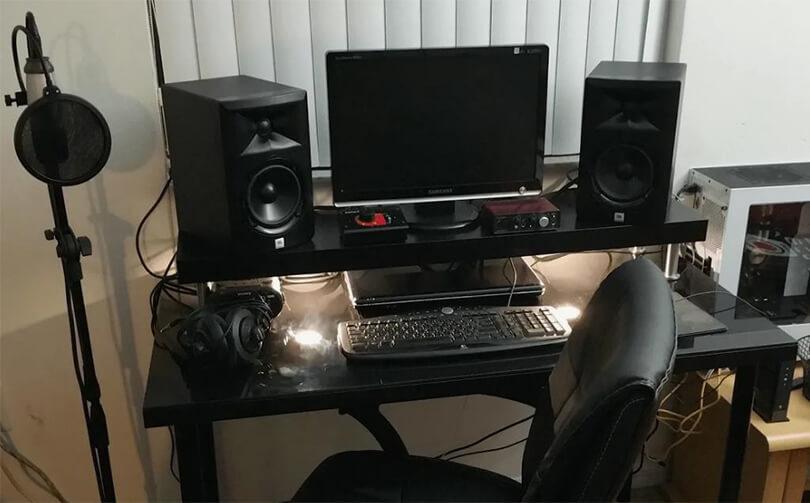
Monitors vary by driver size, typically ranging from 3-4 inches to 10-12 inches. Larger drivers produce more power and deeper bass. However, low frequencies can be problematic in smaller or untreated rooms, so bigger isn’t always better for your setup. Even the best monitors will sound different depending on placement and the room’s acoustic treatment, which we’ll cover later.
For smaller or medium-sized rooms, around 8×10 feet, monitors with 5-6 inch drivers are ideal and can be found for about $300-400 per pair. If you have a larger space, say 12×15 feet, and want deeper bass response, go for monitors with 6.5-8 inch drivers. Bigger monitors are usually not recommended (or necessary) for a beginner studio, as they require substantial acoustic treatment to sound right.
Tips for Setting Up Your Monitors:
- Pay attention to where the monitor’s bass port is located. Rear-facing bass ports can complicate placement close to walls;
- Always connect monitors using balanced cables to reduce noise and ensure a clear signal;
- Avoid large monitors for small spaces, as they won’t perform optimally in confined areas.
5. Choosing a Digital Audio Workstation (DAW)
A Digital Audio Workstation (DAW) is the software where you record, edit, and produce your music. If you’re still deciding which DAW is right for you, let’s look at some key options and features to help you make a choice.
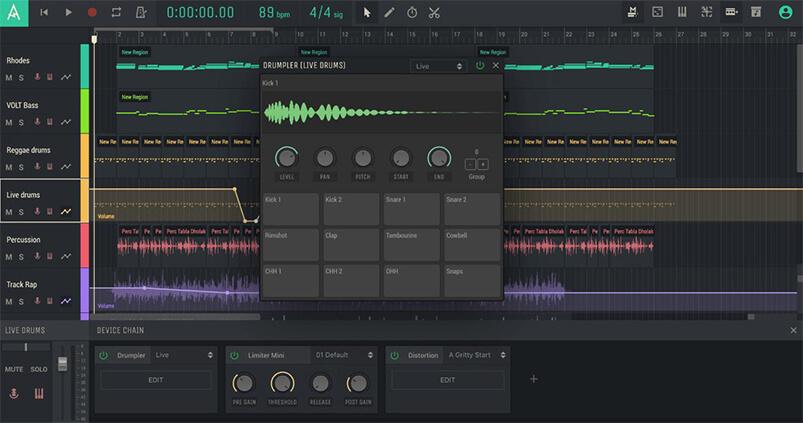
When it comes to DAW pricing, there are three main categories: free versions, subscription-based models, and one-time purchases. These options offer different levels of functionality, making it easy to find one that suits your skill level and budget.
Amped Studio is an example of a versatile virtual studio that provides all the essential tools for creating and processing music. It’s ideal for both beginners and experienced users, thanks to its intuitive interface and wide array of built-in instruments and effects. With an extensive sound library and comprehensive recording and editing features, Amped Studio has everything you need to produce a complete track or even a hit.
6. Choosing Microphones for Your Home Studio
Every studio needs at least one or two microphones for recording vocals, acoustic guitar, and other instruments. As you continue to build your setup, your microphone collection will likely expand. For starters, it’s best to get one reliable “workhorse” microphone and one “specialty” mic for specific recording needs.
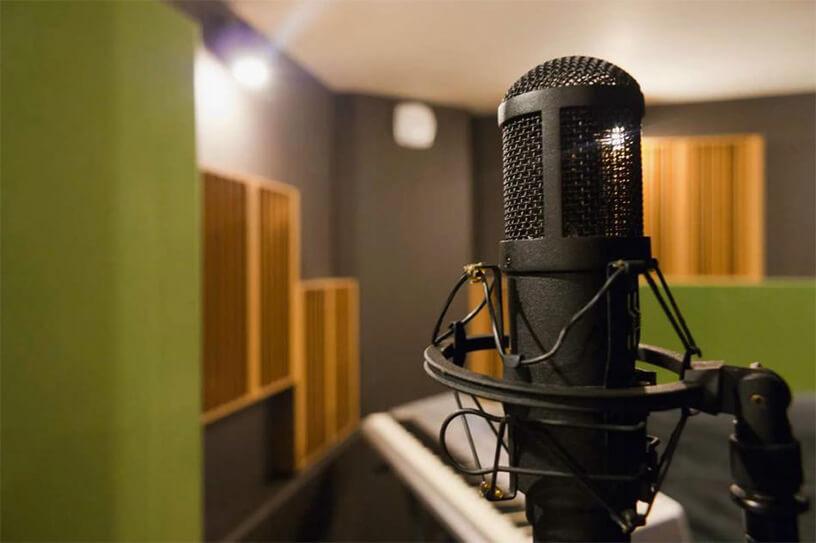
Primary Microphone. For most recording situations, dynamic microphones like the Shure SM57, SM58, or Audio Technica AT202 are excellent choices. These models are known for their durability and versatility, handling a wide range of sound sources effectively. At around $100 each, they’re affordable options for a beginner’s studio.
Specialty Microphone. Your second mic could be a condenser microphone, designed to capture higher frequencies with greater detail, making it ideal for vocals and acoustic instruments. Condenser mics are often preferred for studio work because of their sensitivity to high frequencies, offering clear, accurate recordings.
If you’re only planning to get one microphone initially, a large-diaphragm condenser microphone is a great choice. It’s versatile and well-suited for most home studio needs. For those focused solely on voice recording, a desktop mic might suffice, helping to reduce equipment costs.
Recommended Large-Diaphragm Condenser Microphones for Home Studios:
- SAMSON METEOR USB;
- SAMSON C01U PRO;
- Studio Projects B1;
- Rode NT1-A;
- RODE NT-USB;
- sE Electronics 2200a II;
- AKG P120;
- Audio-Technica ATR2500USB;
- Blue Yeti Pro;
- Blue Microphones Snowball;
- Blue Microphones Bluebird.
Pop Filter
A pop filter is a must-have for voice recording. It helps reduce harsh sounds caused by strong bursts of air, like “p” and “b” sounds, leading to a cleaner recording. Pop filters come in nylon or metal; nylon ones are cheaper but less durable.
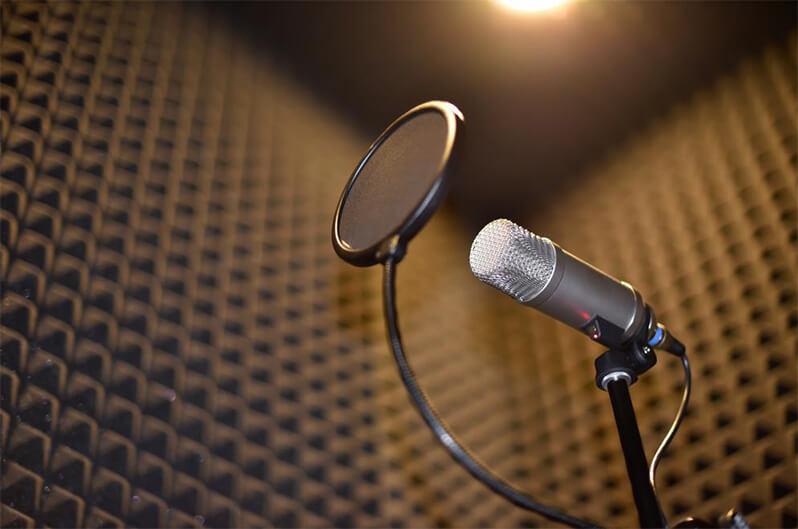
Examples of Nylon Pop Filters:
- MAONO AU-B00;
- K&M 23966-000-55;
- Nady MPF-6.
Examples of Metal Pop Filters:
- Stedman Corporation Proscreen XL;
- Avantone PS-1 PRO-SHIELD;
- Blue Microphones The Pop.
Microphone Stands
The need for microphone stands depends on the type of mic and the tasks in your studio. If you’re using a desktop mic solely for voice recording, a stand may not be necessary. For other setups, a stand is essential.
Types of Stands:
- Desktop Stands – Ideal for home voice recording;
- Straight Floor Stands – Great for stage vocalists or karaoke;
- Low Stands – Often used for kick drums and guitar cabinets;
- Low Stands – Often used for kick drums and guitar cabinets;
- Boom Stands – Floor stands with a tripod base and adjustable arm.
Examples of Desktop Stands:
- K&M 23110-316-55 – Compact and affordable;
- QUIK LOK A188 – Telescopic stand;
Examples of Boom Stands:
- K&M 21060-300-87;
- QUIK LOK A300 CH;
- ROCKDALE 3617_T.
Examples of Straight Stands:
- K&M 26200-300-55;
- Boya BY-PB25.
7. Choosing Headphones and an Amplifier for Your Home Studio
Good headphones are an essential part of any studio setup. They’re crucial for accurate sound monitoring and serve as a secondary reference point when creating and mixing tracks. Like studio monitors, studio headphones should provide a neutral, flat sound to let you hear recordings without added EQ or enhancements.
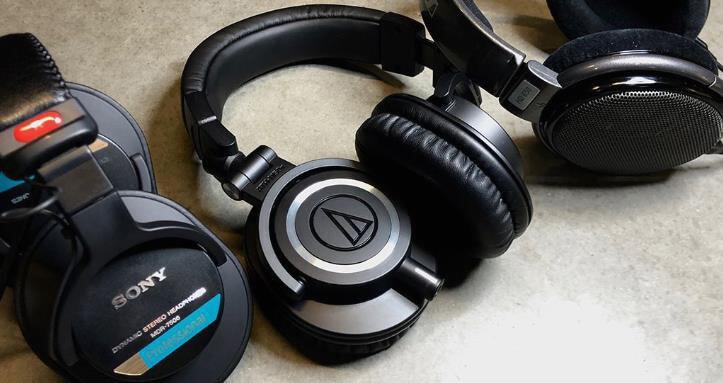
Good headphones are an essential part of any studio setup. They’re crucial for accurate sound monitoring and serve as a secondary reference point when creating and mixing tracks. Like studio monitors, studio headphones should provide a neutral, flat sound to let you hear recordings without added EQ or enhancements.
Types of Studio Headphones
There are two main types of headphones for studio work: open-back and closed-back. Closed-back headphones are ideal for recording, as they provide better sound isolation and minimize bleed into the microphone. Open-back headphones, on the other hand, are better suited for mixing and editing because they deliver a more natural, spacious sound.
If you’ve purchased a starter recording bundle, it likely includes quality closed-back headphones. If you plan to record multiple musicians at once, make sure you have enough headphones for everyone. For example, the Nero headphone amplifier is a great option for handling multiple monitoring needs.
Examples of Quality Studio Headphones:
- Open-back: Beyerdynamic DT990 Pro, AKG K 702, AKG K240, Samson SR850;
- Closed-back: Beyerdynamic DT240 Pro, Extreme Isolation EX-29, Sony MDR-ZX110B, Sennheiser HD205.
Starter Recording Kits. Ready-made studio bundles are a convenient option for beginners. These usually include an audio interface with 4-6 inputs, a large-diaphragm condenser microphone, closed-back headphones, and essential cables. Some kits may also come with additional accessories, like a pop filter or a second microphone. When choosing a kit, consider the type of microphone (e.g., handheld or desktop), as you may need a separate stand for it.
Helpful Tips:
- Choose closed-back headphones for recording to reduce sound leakage;
- Pay close attention to headphone comfort, as this is key for extended work sessions;
- Avoid using consumer headphones with uneven frequency responses for monitoring, as they can distort the sound.
8. Adding a MIDI Keyboard
At first, I considered making this step optional, but given how crucial MIDI keyboards are in modern studios, a home setup feels incomplete without one.
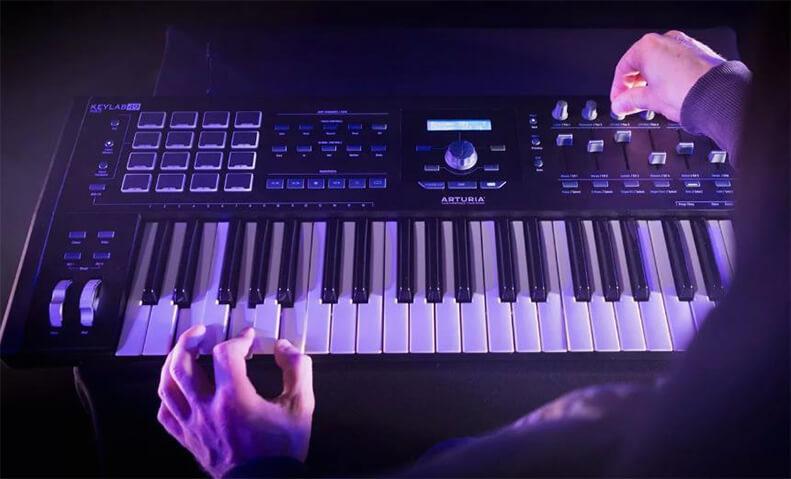
Beyond just playing virtual instruments, MIDI keyboards are incredibly versatile and useful for production tasks like triggering automation, launching samples, switching patches, and much more. The flexibility of MIDI in post-production allows you to edit, tweak, and layer performances as needed.
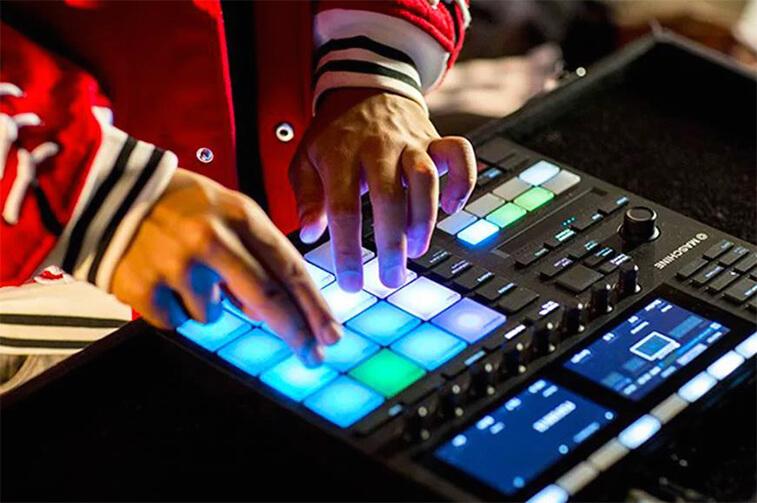
MIDI keyboards come in various sizes, from compact 25-key models to full-size 88-key versions. A good budget MIDI keyboard generally costs between $150 and $300, depending on the size and features. If you plan on working with electronic music or digital instruments, a MIDI keyboard is an essential tool, allowing you to input sounds and record them through a digital interface. For example, not everyone has a drum set at home, and a MIDI controller can serve as a practical substitute.
A Few Tips:
- Choose a keyboard with velocity sensitivity for added expression and versatility;
- When selecting a MIDI keyboard, consider the number of keys—two octaves or more is generally ideal for most tasks.
9. Room Treatment
Whether you’re recording through a microphone or mixing tracks, sound reflections from walls and other surfaces can significantly impact audio quality. Room treatment is a crucial step in achieving professional sound in a home studio.
Room treatment involves using specialized materials to minimize sound reflections. Low frequencies often pose the biggest challenge, especially in small rooms where they tend to reflect off walls, creating areas of bass buildup and cancellation.
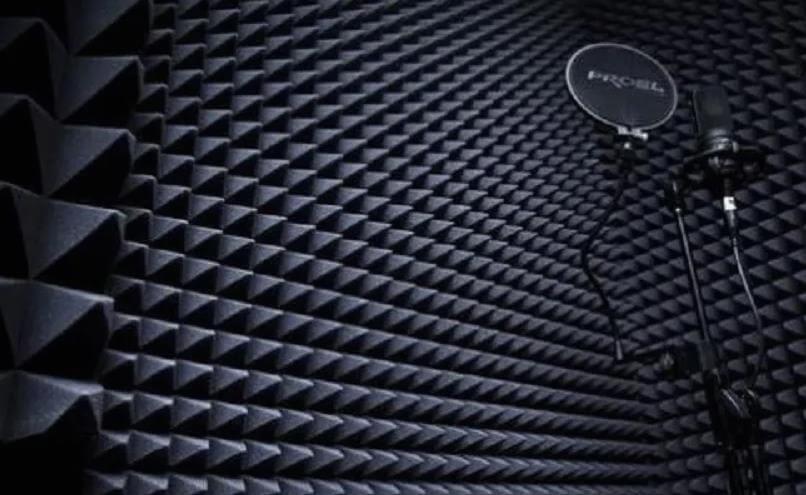
To effectively address this, absorptive panels—such as foam, mineral wool, or fiberglass—can be placed strategically around the room to reduce low-frequency reflections. Acoustic foam works well for controlling high-frequency reflections.
By combining materials to absorb both high and low frequencies, you can achieve balanced sound dampening that provides a more neutral listening environment. There are plenty of online resources with advice on acoustic treatment, including tips on materials, setup, and measurements.
While there are ready-made room treatment kits available, it’s often more cost-effective to purchase materials and work with a local carpenter to create custom panels. This approach tailors the treatment to the specifics of your space and can be more budget-friendly.
10. Final Touches — Cables and Additional Accessories
To make your studio fully functional and comfortable, you’ll need a variety of additional equipment, from keyboard stands and screen mounts to vocal booths and monitor brackets. Some of these items are essential, while others simply add convenience and improve workflow.
Among the must-haves for a home studio are a pop filter and a sturdy mic stand for condenser microphones. A pop filter is crucial for vocal recording as it reduces harsh “p” and “b” sounds. Most pop filters do the same job, so you can choose a basic one without overthinking it.
I also recommend investing in high-quality mic stands. A sturdy stand will protect your mic from accidental falls, which is especially important for condenser mics that are more fragile. Spending a bit more on a reliable stand can save you the cost of replacing a broken microphone down the line.
Additionally, you’ll need reliable instrument and microphone cables, including XLR cables for dynamic mics. A basic 25-foot XLR cable can be found for around $12. For more options, check out our recommendations on the best XLR cables for home recording.
Ear Training for Home Studio Engineers
In a typical list of essential home studio gear, ear training software often doesn’t make the cut. However, I believe it’s one of the most valuable long-term investments you can make for your studio.
The reason is simple: more than any piece of equipment, it’s your ears that truly influence the quality of your recordings. You might think your ears are already good enough, but there’s a big difference between a musician’s ear and an engineer’s ear.
Musicians typically train their ears to recognize notes, intervals, and chords. But as an audio engineer, you need to learn to identify frequency ranges. Without at least a basic understanding of this skill, it’s hard to judge whether your mix sounds right.
That’s why I believe starting ear training from day one will accelerate your progress and drastically improve your skillset over time.


