Doing audio production at home is not only a creative process, but also a game of technical capabilities and imagination. The question arises: is it worth going to a professional recording studio with your work, or is it better to invest effort in creating a personal creative space? This choice is always individual. In this article we will look at what is needed to set up a home recording studio from the entry level.
Is a studio for home recording a compromise?
It is true that a professional recording studio located in a specialized facility often has advantages over home options in terms of quality – this is an indisputable fact. The main difference lies in the resources required to create it: architectural designs, technical solutions, equipment, etc. – all these aspects require significant investments, reaching hundreds of thousands of dollars or more. At the same time, a home recording studio can be set up at a much lower cost and still provide high quality audio work. With careful selection of equipment, compromises in quality can be avoided. Given that larger studios are more often commercially oriented, it is important to ask the following question.
The power of a home recording studio to create commercially successful music
Yes, in a home studio it is quite possible to create a musical product that will conquer commercial heights. It is important to realize that for the listener, what is of paramount importance is not the equipment on which the track is recorded, but the idea and sound itself. The success of your music product depends on the uniqueness and appeal of your work, not on the location of the recording. An example of this is Billie Eilish with her 2019 debut album “When We All Fall Asleep, Where Do We Go?”, recorded in her home recording studio. This album, despite modest studio equipment, caused a real sensation and received many awards, including a Grammy in the category “Best Record of the Year”. This fact confirms that even in the last century, many famous bands, such as Deep Purple with the album “Machine Head”, recorded their hits in rented houses or hotels using mobile studios. Today, when the influence of record labels is not as great as before, the opportunities for self-promotion and recording have expanded significantly. Ultimately, the success of a recording is determined by its online audience.
What are the benefits of a home recording studio?
“Time is money” especially in the world of music. In a home recording studio, you are freed from the time constraints that exist in commercial studios, where every extra minute costs a penny;
Be prepared to be inspired. Musical inspiration can strike suddenly, and a home recording studio provides the opportunity to instantly capture initial ideas for a track, which is key to the creative process;
Develop your skills. A home recording studio is a platform for learning and improving skills in working with audio software and equipment. For example, tuning a guitar amp is a valuable art that requires experience. These skills will come in handy in professional studios such as the legendary Abbey Road;
Integration of home and professional studios. If you have access to a professional studio, you can transfer some parts of the work to your home recording studio, such as mastering, which takes a lot of time. However, it is worth considering that the audio experience may differ between studio and home environments due to differences in monitoring, software and room acoustics.
What are the disadvantages of a home recording studio?
Room Acoustics: The importance of proper room preparation cannot be overemphasized. If the room is not acoustically treated, the quality of the recording of vocals and instruments may suffer significantly. An unprepared room can negatively affect the sound, “merging” into the recording;
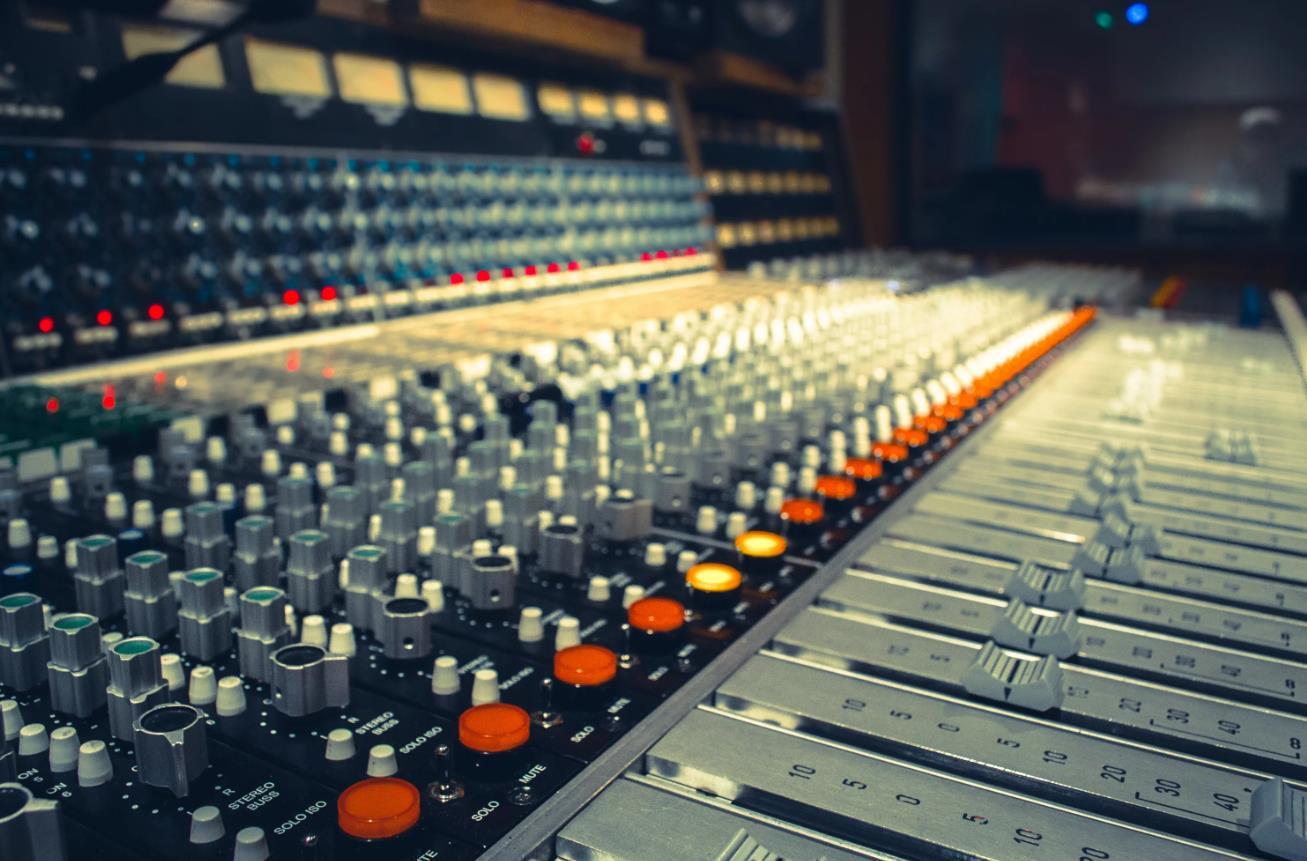
Technical Resources: Professional studios have a significant technical advantage. They are equipped with an extensive arsenal of microphones, preamps and monitors, which gives more opportunities for variety and quality of recordings;
External Interference: When setting up a recording studio at home, you should consider the possibility of external interference, such as noise from neighbors. Thin walls may not provide adequate sound insulation, which may make it impossible to record during background noise, such as a hammer drill.
The next stage is to analyze the necessary equipment for a home studio. Let’s get ready to select the main components that you will need to set up a studio in your home.
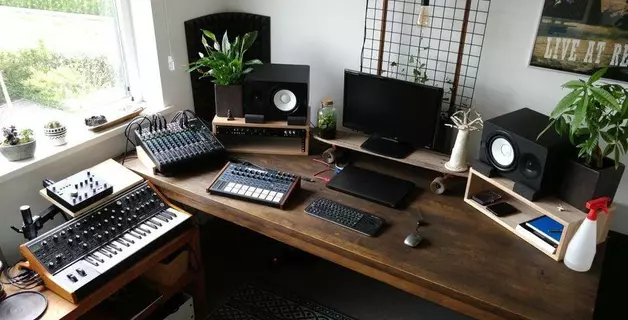
What should you have in your home recording studio?
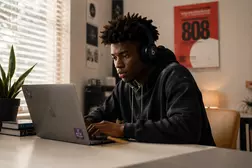
Computer. At the center of any home recording studio is the computer, which is used to record, process, and store audio in digital format, unless using analog equipment such as a Studer tape recorder. The choice between Mac and PC is left to the user’s discretion: both options are effective for working with sound. The main characteristics that are worth paying attention to are a high processor frequency for real-time audio processing without delays, a sufficient amount of RAM and its speed to effectively work with a sample library.
Recommendations for choosing a computer:
Minimum 8 GB of RAM for simultaneous work with different audio programs;
Computers with solid state drives (SSD) are preferred due to their high speed and performance;
It is important to choose an operating system that you are used to and update it regularly to ensure stability and security.
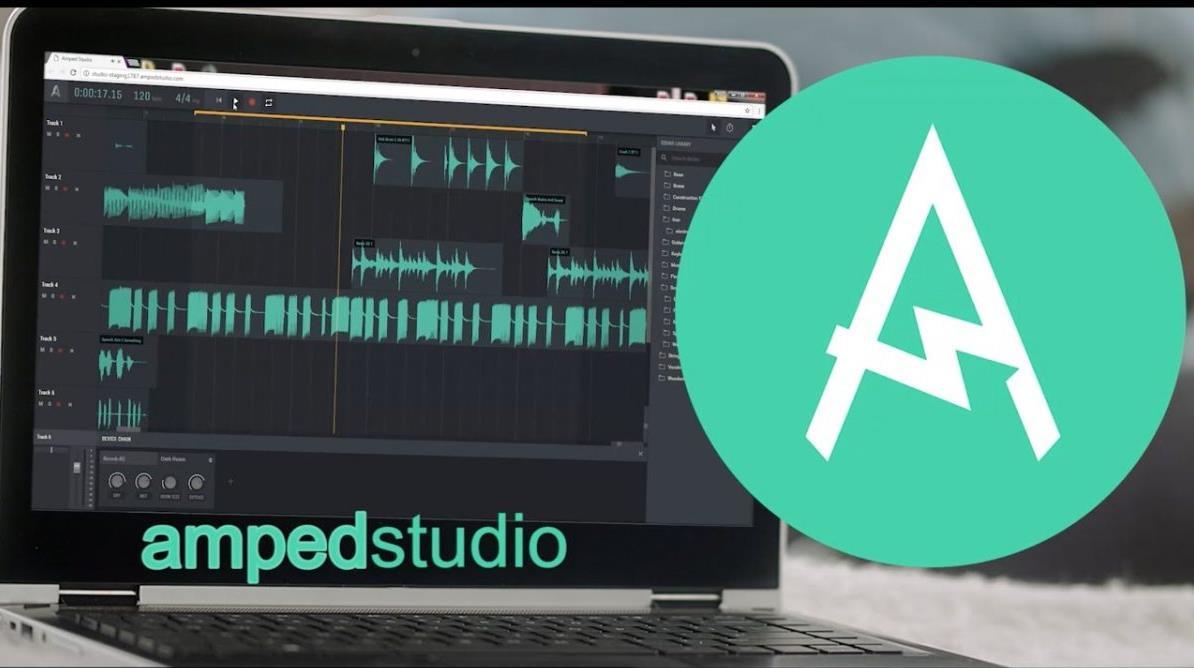
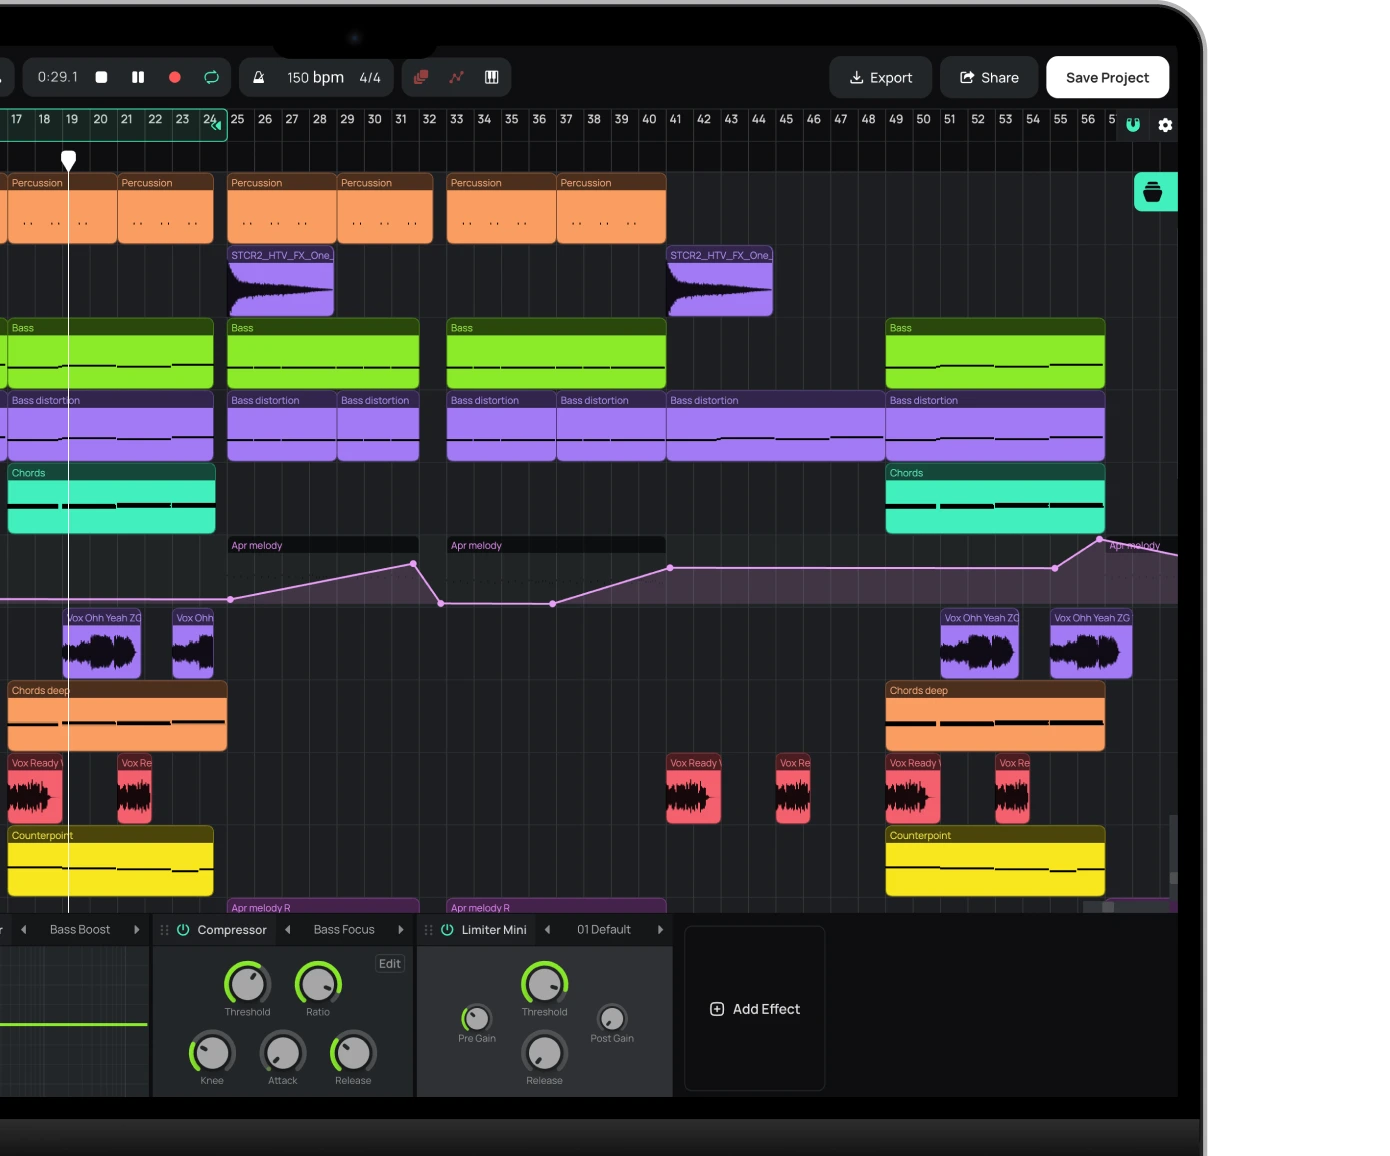
The digital audio workstation (DAW) is the modern replacement for many analog devices used in studios. In the context of a home recording studio, where space and budget may be limited, using bulky and expensive controllers is usually impractical. The specific choice of DAW should be based on personal preference and ease of use. It is recommended to start by familiarizing yourself with the demo versions in order to test the functionality and interface of the program, even if they are presented in a stripped-down form. Please remember that purchasing a licensed version of your DAW is the only legal way to use it. Additionally, DAWs often come bundled with external sound cards, which we’ll discuss next.
Tips for choosing and using a DAW:
The inclusion of various plugins in the DAW kit will be a big plus for effective work;
You should download and purchase only licensed versions of the software;
Choose the program that seems most convenient to you, and do not forget to update it regularly to optimize performance.
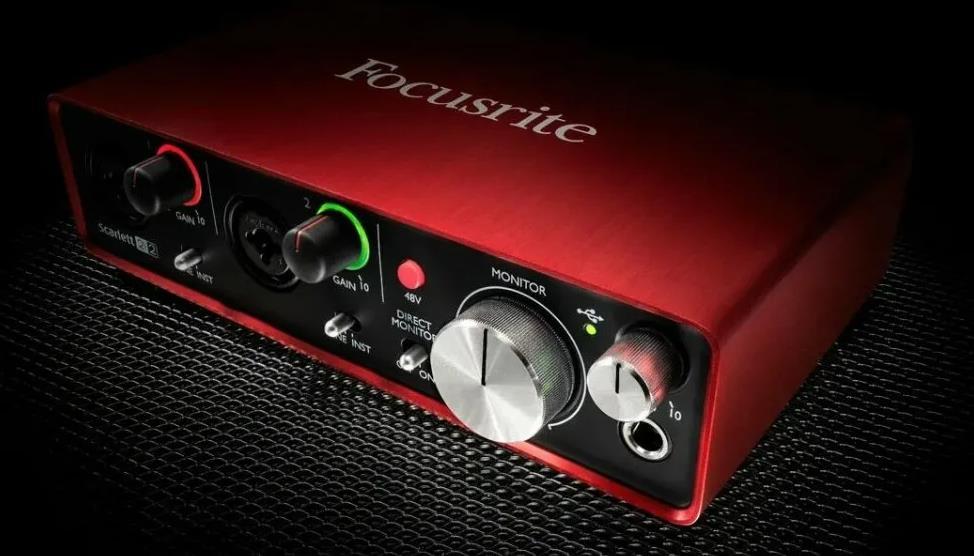
An audio interface is a key element in any home recording studio. This is a device to which microphones, musical instruments, samplers and other equipment are connected through various cables. You shouldn’t skimp on an audio interface, as the quality and functionality of this component are critical. When choosing an audio interface, consider the number and type of equipment to be connected. For example, some may need two inputs (one with phantom power for the microphone and one for instruments), while others may need the ability to record from multiple sources simultaneously.
Tips for choosing an audio interface:
Check the compatibility of the selected sound card with your computer;
Avoid purchasing from the secondary market, as used models may have problems;
Consider the number of inputs on the interface: more inputs provide more simultaneous recording capabilities. The choice should be based on your needs and objectives.
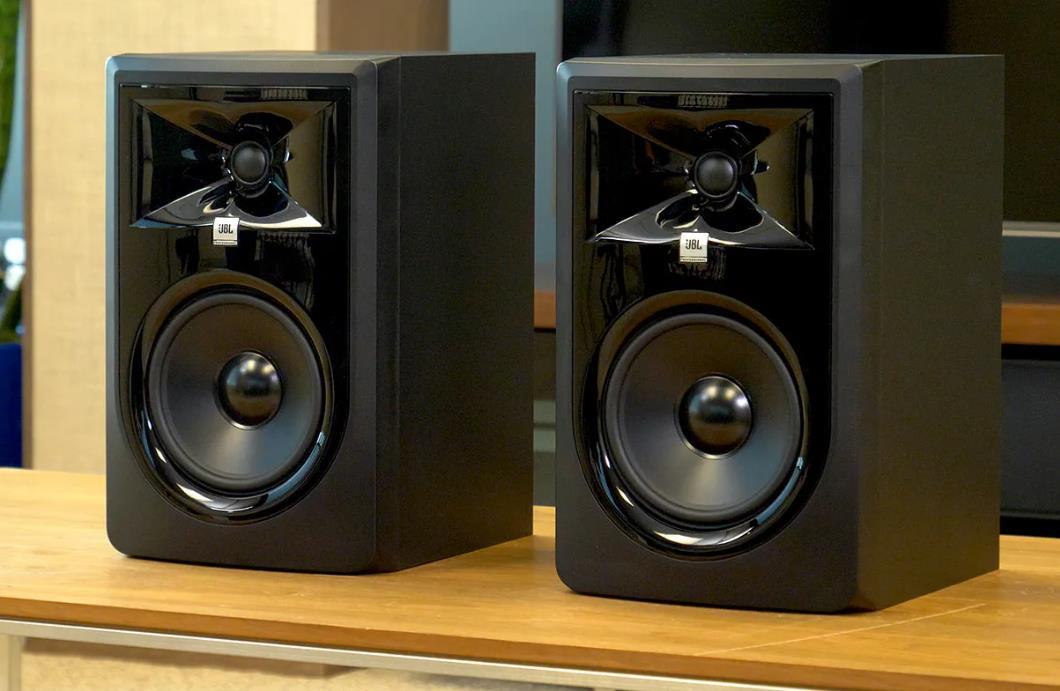
Studio monitors are one of the key components of any recording studio, as they determine how accurately and in detail you can hear your mix. Good monitors should be able to accurately reproduce every aspect of your audio material, including any imperfections, so you can correct them during the mixing process and other stages of your audio work.
Tips for choosing studio monitors:
Consider the location of the bass reflex on monitors. For example, a rear-mounted bass reflex port may make it difficult to place monitors close to walls;
To connect monitors, use a balanced connection for better sound quality and reduced interference;
Don’t choose large monitors for small spaces. In a limited space they will not be able to reach their full potential.
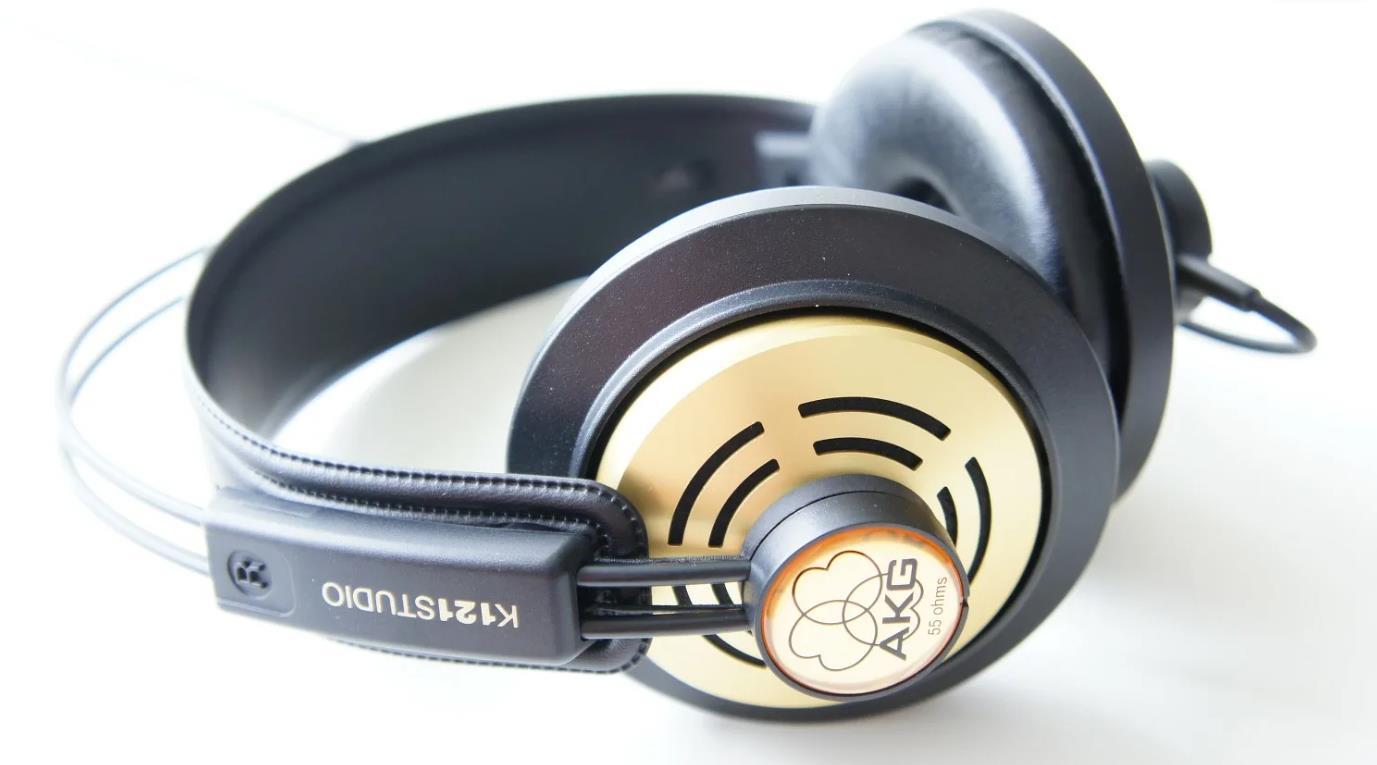
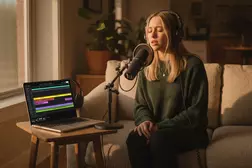
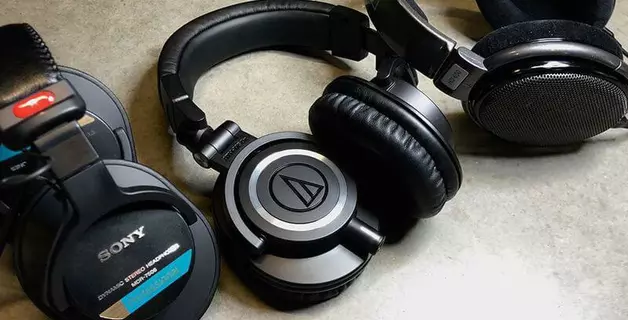
Monitor headphones are an important tool in audio production, as they provide a more detailed perception of audio material and help you fine-tune your mixes. Headphones are capable of transmitting a wide range of sound information. It is recommended to use a variety of monitoring sources (including headphones, monitors, smartphones, portable speakers) to get the fullest possible understanding of the sound of the material. Closed-back headphones are best for recording, as they minimize sound leakage that can get into the microphone. In-ear monitors are also suitable.
Recommendations for choosing monitor headphones:
When recording, it is preferable to use closed headphone models;
It is important to pay attention to the comfort of the headphones, as this affects the comfort of long-term work;
Regular consumer headphones are generally not suitable for monitoring because they do not provide a flat enough frequency response.
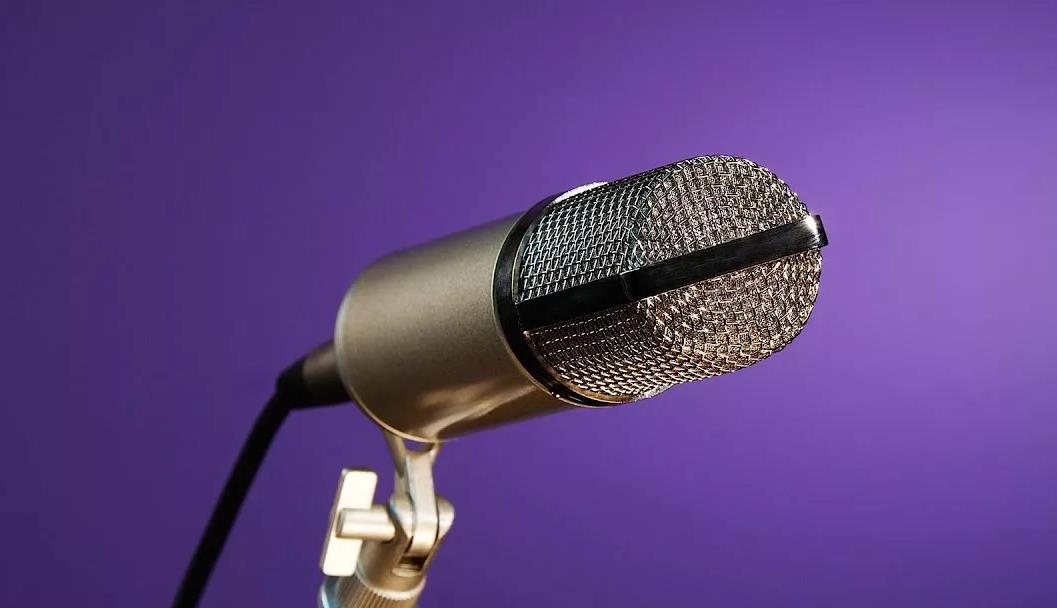
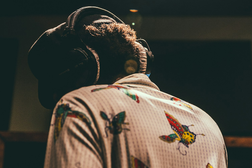
Dynamic and condenser microphones. To create high-quality recordings in your home recording studio, you need to have both dynamic and condenser microphones, since each type has unique characteristics that complement each other. Condenser microphones are highly sensitive and are ideal for recording vocals and acoustic instruments due to their ability to capture subtle details. Dynamic microphones are more versatile and can also be used to record a variety of instruments and vocals.
Tips for using microphones:
When using a condenser microphone, be sure to use a shock-absorbing suspension (“spider”) to prevent external vibrations from being transferred to the capsule;
When choosing a condenser microphone, give preference to models with the ability to change the polar pattern;
Store microphones in protective cases to prevent damage;
When recording vocals, use a pop filter to minimize the impact of plosives on sound quality.
A MIDI controller is an essential tool when working with electronic music and using digital instrument samples. It allows you to stream audio to a digital interface and record it, which is especially useful when you can’t use real instruments, such as a drum kit, which can be replaced using a MIDI controller.
Tips for choosing a MIDI controller:
Choose a model with a velocity-sensitive keyboard, as this adds functionality when creating music;
When choosing a MIDI controller, pay attention to the number of keys. The presence of two or more octaves increases the possibilities for musical creativity.
Cables play an important role in connecting equipment in a home recording studio. They are necessary to connect all the devices mentioned earlier. Cables with XLR and Jack connectors are used for microphones, monitors and other analog devices. Typically, a USB cable comes with the audio interface. It is also a good idea to have several instrument cables in your studio to connect your electric guitar or acoustic guitar with pickup to the interface.
Recommendations for the selection and use of cables:
Use balanced cables to connect microphones and monitors to minimize interference;
Avoid using long instrument cables (over 5 meters) as they may cause interference.
How to choose a location for a home recording studio and prepare the room?
Preparing a room for a home recording studio differs significantly from the conditions of a professional tone room. An important aspect is not only the choice of a suitable place to install the desktop, but also the acoustic preparation of the room. You should not rely on such primitive methods as pasting the walls with egg cassettes or using foam rubber with a pyramidal structure, as they are ineffective.
Your task is to find a place in the room with the most neutral acoustics, where hum and sound reflections are minimized. This requires creativity: try clapping, singing, making different sounds and listening to how they behave in different parts of the room. You can determine a suitable place based on your own feelings: look for an area with minimal echo and sufficient “transparency” of sound.
Before installing the equipment, it is recommended to clear the room of unnecessary objects to reduce unwanted sound reflections. It is advisable to place monitors on special stands or desktop stands to avoid desktop vibrations that can distort the sound. Otherwise, the impressive sound from your monitors may be deceiving.
We also offer complete studio kits that include coordinated monitors, audio interfaces, microphones and accessories that provide the perfect foundation for your home recording studio.
Author
Patrick Stevensen
Published
28 Nov 2023
audio tech
Make Music Now.
No Downloads, Just
Your Browser.
Start creating beats and songs in minutes. No experience needed — it's that easy.