Reverse reverb
In this section, we will talk about the method of using reverb on melodies or vocals with an expanded audio file. A technique called reverse reverb creates interesting sound effects and atmospheric build-ups that can be integrated into tracks of any genre.
Reverse reverb is a powerful sound design tool for creating special effects. It can be used to turn a regular percussion sound into an effective crash, impact, riser and other accentuating sounds that are often used in epic and tense moments of compositions. Creative use of this technique allows you to create impressive cinematic explosions and characteristic sounds, like in animation. In musical arrangements, this tool is used to create tension and accents, called impacts, which emphasize important moments or transitions between parts of the track.
Effects based on reverse reverb are simple to perform and may seem obvious, but with a creative approach and combination with other methods, they give excellent results. In commercial and cinematic sound engineering, almost all special effects are created using reverb. Sounds are inverted in phase, reversed, and pitch-shifted to create unique and impressive sound effects that enhance the atmosphere of a scene or track.

The concept of reverse reverb
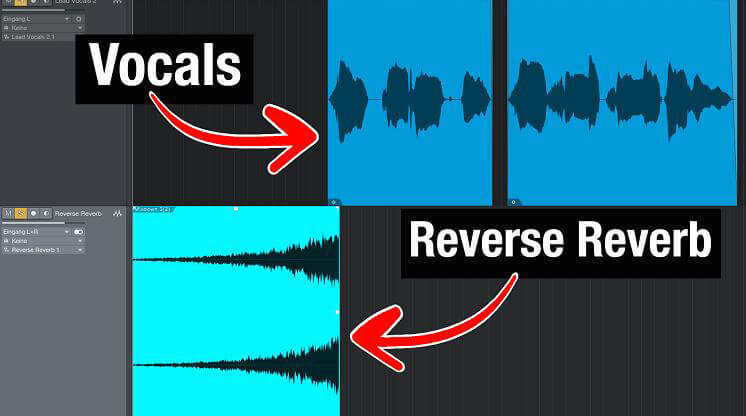
Reverse reverb is literally the opposite effect of regular reverb. Instead of gradually fading out the sound, as with standard reverb, in reverse reverb the sound actually increases in intensity before the original sound, not after it.
How is this effect created? The sound that has already been processed by reverb is simply flipped or played in reverse. That is, the sound recording is literally turned around and played backwards.
The beauty of this technique is its simplicity: all you need is any audio editor, a reverb, and a little imagination. It is a simple tool that, however, opens up great possibilities in skilled hands.
To understand how it works, it is enough to try it once in your digital audio workstation (DAW). Start with any sharp sound, for example, a kick:
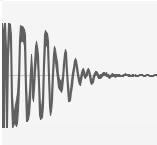
Initially the sound is dry and featureless. Let’s add a reverb with a decay time of about one second:

At this point, you can reverse the entire sample to create a nice boost. However, if the plugin allows it, you can separate the reverb and reverse only it. This will give a better result, as an inverted kick does not always sound organic.
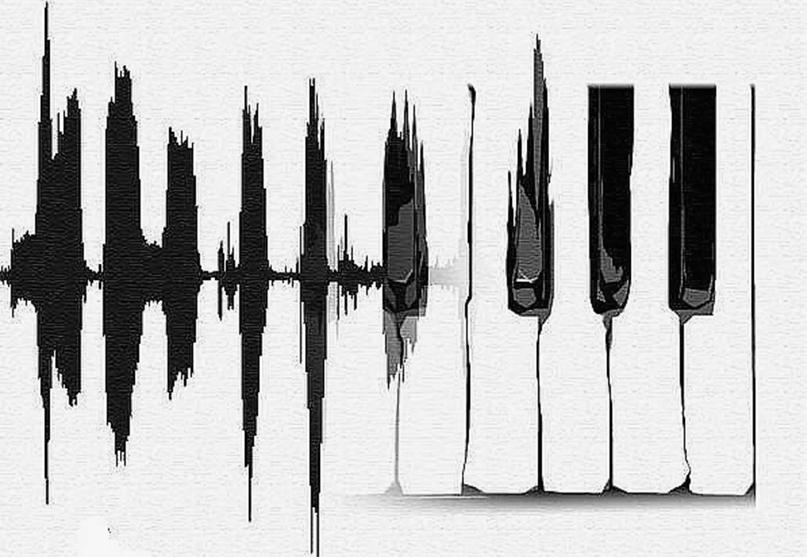
The reversal process may vary between DAWs, but the waveform should ultimately be horizontally mirrored.

The resulting build-up effect, also known as rise or whoosh, is created by combining inverted and regular reverb in series, with the original sound placed at the junction of these elements.

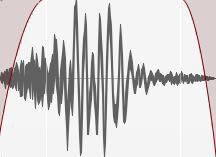
To control the impact duration, you can remove the beginning and end parts of the sample. After trimming, it is recommended to boost the beginning part with compression to increase the impact. In this way, even with the simplest kick, basic reverb and a free DAW, you can create an impressive “signature” sound that is easily integrated into electronic music.
This method is also great for creating atmospheric effects in the film, video and gaming industry. Internoise and ambient sounds in films and games are often created using similar simple but mesmerizing techniques. Reversed fragments of speech, placed before the usual ones and additionally processed in space, create interesting emotions in listeners and viewers. It is thanks to this technique that trailer music, in which manipulations with the reverb tail dominate, sounds so effective. To create other interesting effects based on reverse reverb, you can combine different sampling, dynamic and spatial processing techniques, experiment with superimposing reflections on each other, change frequency bands, leaving some in their original form, and so on.
Dynamic modulation of parameters can revive a boring sound. For example, with the help of automation, you can smoothly change the dry/wet ratio of the reverb over time, or even use randomization of parameters when working with an equalizer or compressor.
History of Reverse Reverb
Led Zeppelin’s Jimmy Page is officially credited as the “father” of reverse reverb, claiming that he invented the effect and used it on The Yardbirds’ 1967 song “Ten Little Indians.” However, it’s worth noting that The Beatles’ 1966 song “Tomorrow Never Knows” (a year earlier) had already used reverse reverb. Additionally, Kurt Boettcher also used the effect on Leigh Mallory’s 1966 single “That’s the Way It’s Gonna Be.”
If you dig deeper into history, you’ll find other examples of reverse reverb being used in the 1960s, and perhaps even earlier. However, Jimmy Page’s authority allows him to be considered a pioneer in this field.
Methods for Achieving Reverse Reverb
There are several methods for achieving reverse reverb, each using different tools. Let’s take a closer look.
Tape Recorder
This method is a thing of the past, but it’s worth mentioning. The original audio was played backwards on a reel-to-reel tape recorder and fed into a plate or spring reverb (you can read more about them in our article). The resulting reverb effect was then recorded onto tape. The recording was then played back in reverse and recorded onto another tape. The result was that the music and vocals returned to their normal sound, while the reverb added on the second tape sounded backwards. The end result was a reverse reverb that not only grew in amplitude over time, but also appeared before the original signal rather than following it.
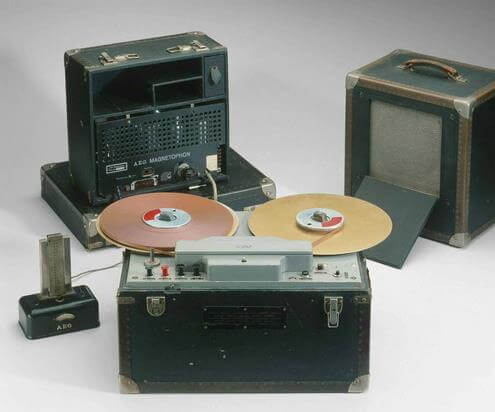
It was a slow, expensive process that also resulted in a loss of recording quality, but in the 60s, there were no other methods.
Plugins in DAWs
In digital audio workstations (DAWs), reverb plugins are used to add space and depth to a sound. These plugins can be set to create a rich effect by adding a significant amount of reverb or echo to the signal. To create reverse reverb, you need to find the point where the original audio ends and cut it, leaving only the reverb. Then, assign the processed signal to a separate mixer channel. In the final step, reverse this signal to get the reverse reverb effect.
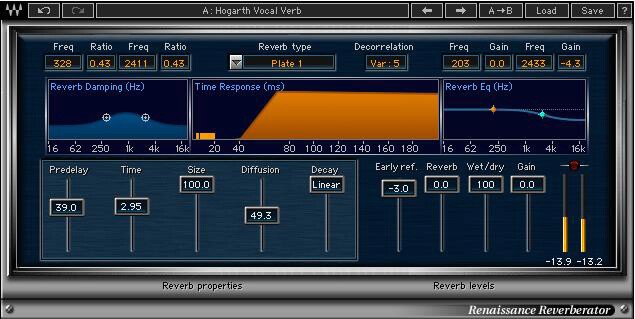
To create a reverse reverb effect, use a longer decay time than with a regular reverb – about 2-5 seconds. For maximum smoothness, you can make calculations based on the tempo of the song.
Reverb Pedal
A reverb pedal creates a reverse reverb effect by reversing the audio signal. The original input signal is recorded and processed by a processor that adds reverb and plays it back in reverse. These pedals create a unique reverse sound on recordings. They can also be used during live performances, making them indispensable and versatile devices.
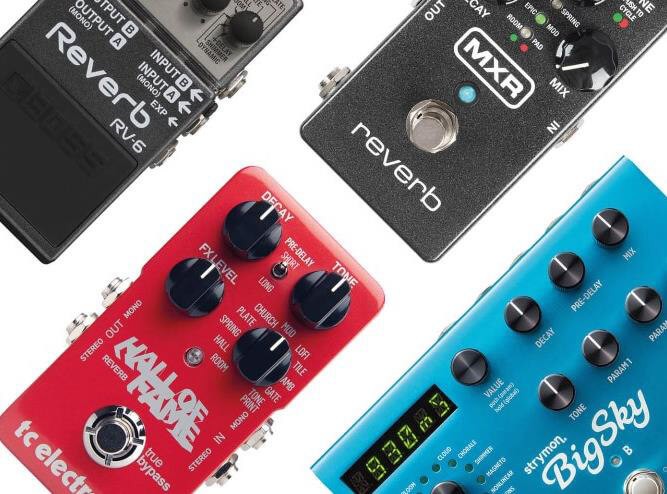
There are currently no pedals that exclusively create a reverse reverb effect. This effect is usually offered as an option in multi-mode reverbs.
Let’s take a look at some popular pedals with reverse reverb capabilities
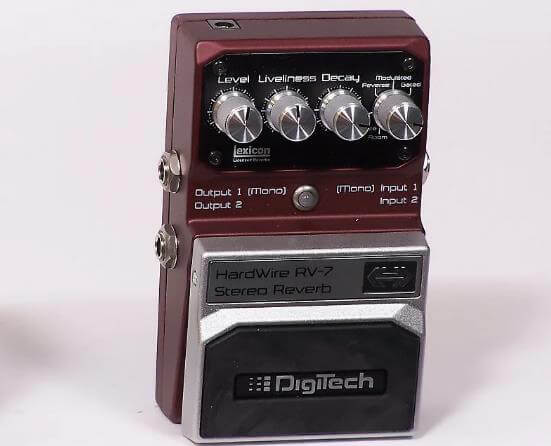
1. DIGITECH HARDWIRE RV-7
This pedal includes seven Lexicon reverb models, making it an attractive budget choice. Not only does it offer excellent plate and spring reverbs, but it also offers an impressive reverse reverb effect. No matter how much you crank up the pedal, the sound remains crisp and rich with reverb. The pedal probably has a pre-delay, as every note and chord sounds crisp and clear even after the reverb effects are applied.
2. FENDER REFLECTING POOL
The FENDER Reverb Pedal is one of the most versatile and easy-to-use setups for creating atmospheric sound on a pedalboard. FENDER has combined several of the best reverbs and delays into one unit, placing them in a rugged, oversized enclosure. The pedal offers a variety of reverb modes, including hall simulations of different sizes, Shimmer, Modulated, and Gated/Reverse effects. Each one sounds unique and unlike any other FENDER pedal.
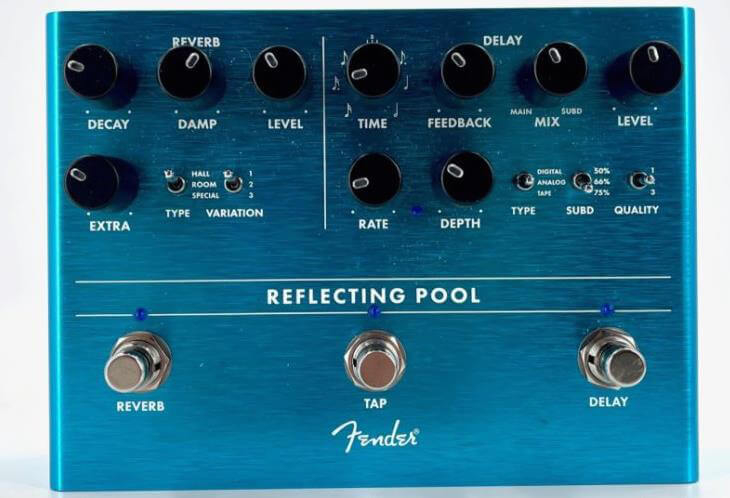
The Sub and Tempo knobs give you precise control over the pitch delay repeats, no matter which delay type you choose. The Gated/Reverse mode creates a deep, modulated tone and a unique tail shape that can be adjusted with the Mix knob.
3. ELECTRO-HARMONIX HOLY GRAIL MAX
The ELECTRO-HARMONIX Holy Grail has been a staple in the reverb pedal world for over two decades, and the Holy Grail Max is its latest and greatest. This studio-grade pedal offers four reverb types: Hall, Plate, Spring, and Reverse. This model’s specialty is the Reverse Reverb mode, which creates a smooth decay that can be adjusted with the Time knob.
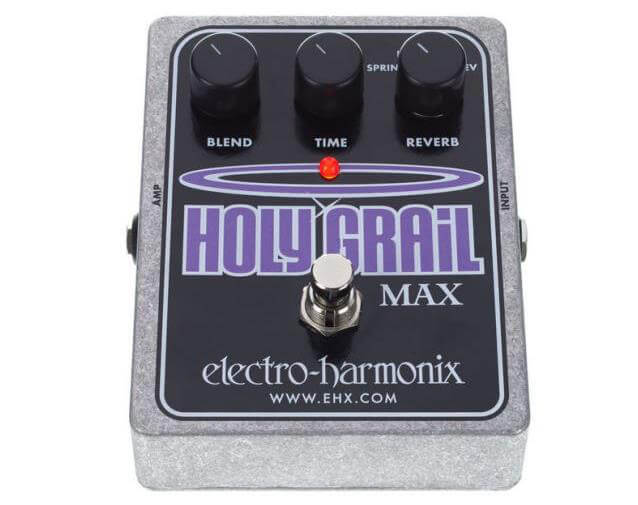
The pedal is very easy to use and has three main controls and a stop button that allow you to control the mixing of sounds, the decay time of the reverb and the choice of its type.
Using reverse reverb
Reverb is usually used to recreate the acoustic characteristics of various physical spaces, such as concert halls or cathedrals. However, reverse reverb, on the contrary, creates a completely unnatural sound. Therefore, it is often used as a special effect, for example, in cinema, and not to convey natural sound. This effect adds a note of mystery, mysticism or even horror to the sound, creating a psychedelic atmosphere and attracting the attention of the listener.
These are the main points to know about reverse reverb. Try using this effect on stage or in the studio, experiment and combine it with other effects. Perhaps you will discover something new for yourself or your listeners. Good luck in your creative endeavors!


