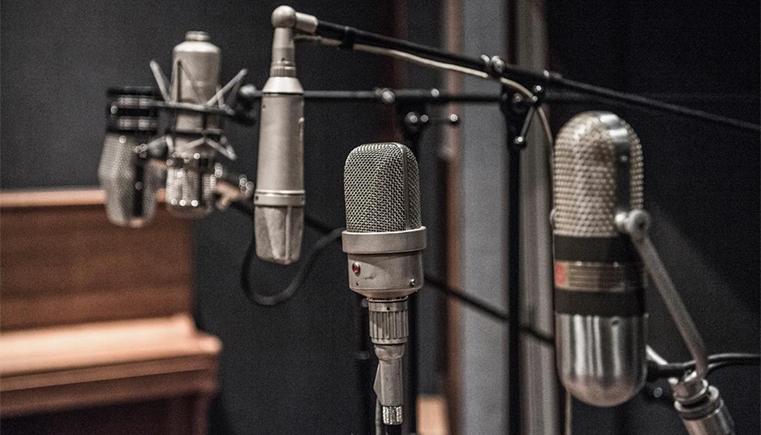
Soundproofing a studio
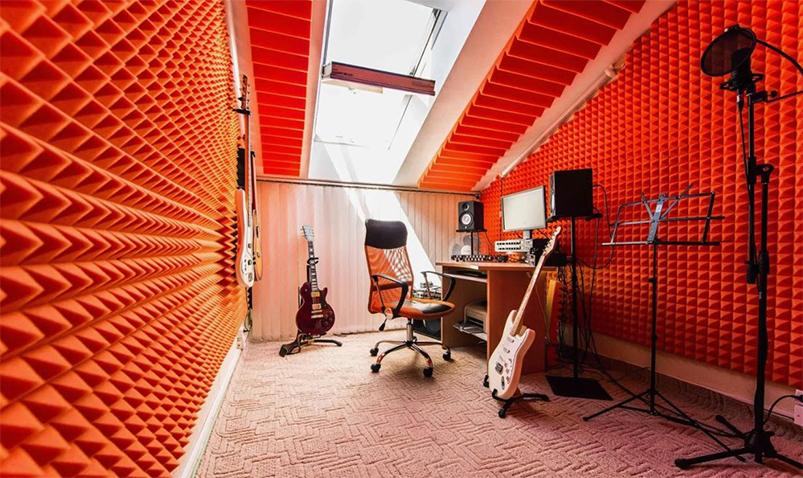
Sound isolation addresses issues related to how sound from a room with an audio system penetrates into other rooms, and vice versa.
Acoustic treatment, in turn, aims to improve the dispersion of sound waves to avoid distortion of the sound created by the speaker system.
The Amped Studio online sequencer, when connected to the appropriate equipment, allows you to create completely professional music of any genre. Here you can perform all stages of processing from initial sketches to full mixing and mastering. With the appropriate acoustic design of the room, it may well become your professional studio, in which you can record more than one of your musical masterpieces.
Soundproofing
If your home studio is located in an apartment in an apartment building, working at high volume may disturb the peace of your neighbors. On the other hand, noise from neighbors, children’s screams, squeaking doors, street noise and other unwanted sounds can disturb you when working at low volumes.
Each material has a sound absorption index (SRI – Sound Reduction Index), depending on its thickness and material properties. For example, a brick wall has an SRI of about 45 dB, and a regular door absorbs about 10 dB of sound.
The obvious solution is to increase the thickness of the walls, floors, ceilings, doors and windows. Some expensive studios create an additional room inside an existing one – a “room within a room”. This makes it possible to completely eliminate the transmission of sound and vibration: a floating floor is used on a rubber lining, the walls are separated by an air gap and soundproofing material, and there are often no windows.
If such radical changes are not possible, you can try improving the insulation by sheathing the walls with a layer of mineral wool and covering it with plasterboard or carpet. It is also useful to find out which wall transmits sound the most and attach a cabinet or rack to it. The floor can be covered with a thick carpet, and the ceiling can be made suspended by filling the space between it and the concrete slab with mineral wool. The windows should be covered with double curtains and high-quality double-glazed windows should be installed. It is also important to seal the gaps between the door and the frame, and apply soundproofing material to the door.
These steps will help avoid external noise and dissatisfaction with neighbors, but will not solve the problem of standing waves and resonances in the room itself. This will require acoustic treatment of the room.
Acoustic treatment
The goal of room acoustic treatment is to eliminate distortion, which is typical in unprepared rooms and manifests itself in the form of an unpleasant hum or grinding sound at certain frequencies, as well as a lack of clarity and general vagueness of the sound.
In rooms with parallel walls, acoustic resonance inevitably occurs. The sound wave bounces from one wall to another hundreds of times per second, creating what is called a “standing wave.”
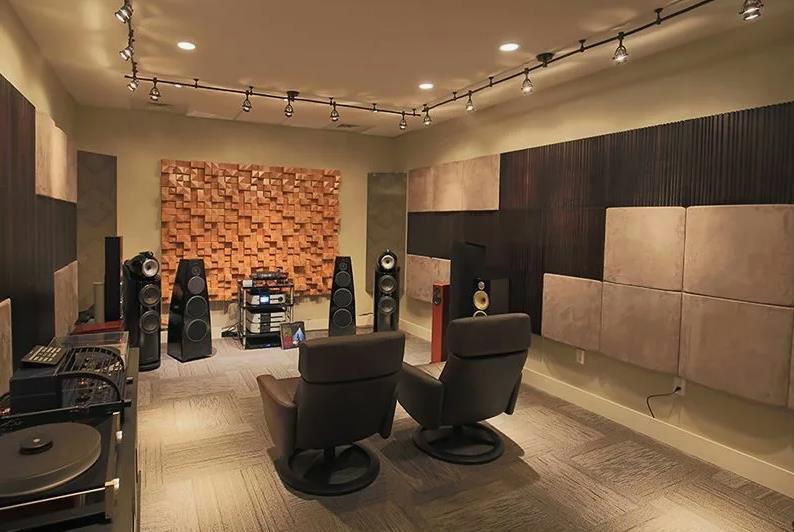
How to solve this problem? There are two main approaches to the acoustic treatment of a room: sound absorption and sound dispersion. For absorption, materials that can absorb sound are used, such as acoustic foam, mineral wool, bass traps and others. In order to diffuse sound, various types of diffusers are used, which make the walls of the room more uneven. Professional studios specifically design rooms with non-standard geometry: the walls are not parallel to each other, and the ceilings have an angular shape.
Treble and mid frequencies
Problems with high frequencies can be quickly identified by standing in the center of the room and clapping your hands – in an unacousticated room you will hear a clear echo with an unpleasant metallic sound. Acoustic foam is often used to solve this problem. However, it should be used wisely: using it in excess will result in excessive absorption of high frequencies, which can cause the mid and low tones to bulge. As a result, the sound in the room will stop ringing, but will begin to hum and mumble.
Acoustic panels are widely used to combat both high and mid frequencies. These panels consist of sound-absorbing material of a certain thickness, which is usually framed in a special frame and covered with decorative fabric.
The thickness of a material to absorb a specific frequency is calculated by dividing the speed of sound (331 m/s) by the frequency in hertz. For example, to absorb a sound wave with a frequency of 10 kHz, a material about 3.5 cm thick is required. The thicker the panel, the lower the frequency of sound it can absorb.
Acoustic panels can be purchased ready-made or made yourself using the available instructions. Placing multiple panels at key points in the room, such as the back and front of monitors, will help create a more comfortable midrange experience.
Low frequencies
The most difficult task is dealing with low frequencies. For example, if we consider the wavelength of a 100 Hz sound wave, it will be approximately 3.35 meters, which means that an acoustic panel of this thickness will occupy the entire room. It is the bass frequencies that make the room hum, the windows shake, and the neighbors knock on the pipes.
Identifying bass problems in a room is quite simple: just run the synth in your DAW and play the scale starting from the lowest notes. Problematic frequencies will be highlighted by sound that will sound either louder or quieter compared to the rest.
How to deal with bass? It is most often concentrated in the corners of the room. Therefore, an effective solution would be to install corner-type bass traps – these could be acoustic panels in the shape of a triangle or special designs in the style of a Schroeder diffuser.
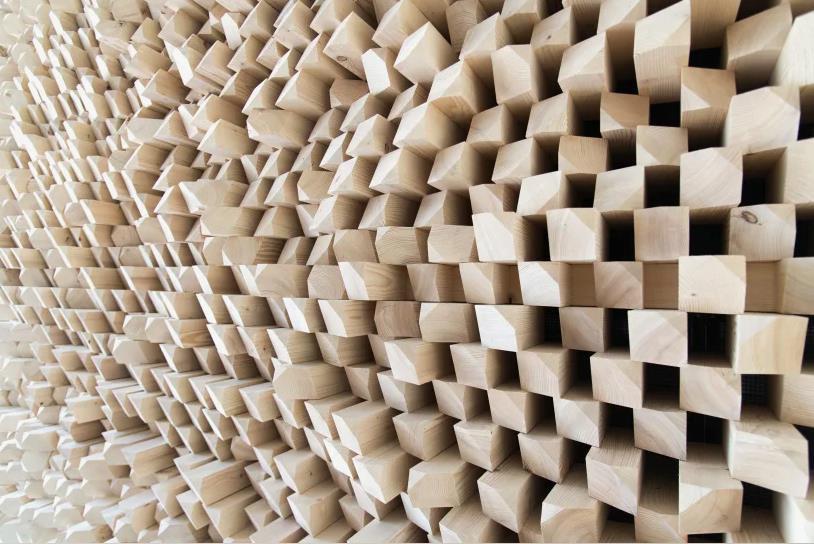
Low frequency sounds also travel easily through solid materials. If studio monitors are mounted on stands, the bass will easily spread through them to the floor and beyond, causing boom throughout the room. To solve this problem, special insulating substrates for monitors or a more radical approach can help – using a podium with rubber insulating feet. The podium will allow you to place stands or even a desktop on special insulating legs, which will separate the sound source from the surrounding room.
Practical advice for typical situations
Vocal recording
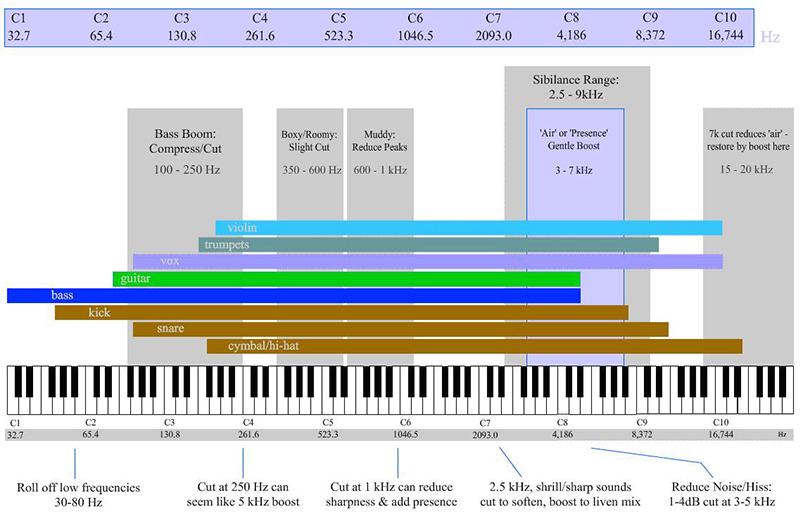
The male tenor typically covers a range from about 130 to 13,000 Hz, while the female tenor has a slightly higher range. Even the deepest bass rarely contains useful frequencies below 90 Hz. Therefore, to record vocals, minimal acoustic treatment of the room is necessary, although in some cases you can do without it.
Recording acoustic instruments
For this purpose, only basic room processing is necessary, except when recording deep bass instruments such as double bass, tuba, horn and other orchestral instruments. Several acoustic panels placed at key points in the room will be sufficient to eliminate unwanted reverberation and resonances in the midrange. You should also pay attention to soundproofing, especially if you plan to record brass instruments.
Listening to music
One of the most common problems with home audio systems is “bass bloat.” Often, manufacturers specifically emphasize the low frequencies in their devices to create a richer sound. To avoid possible complaints from neighbors, it is necessary to isolate the room from sound as much as possible. It is also important to separate the speaker system from the walls of the room using special stands or stands with rubber feet.
To cope with excess low frequencies, it is useful to have upholstered furniture, as well as shelves and racks that can act as Schrader diffusers. If necessary, you can install several bass traps in the corners of the room. Additional acoustic panels on the walls will help improve mid- and high-frequency intelligibility. When listening to music, you should not strive for a perfectly even frequency balance in the room – the most important thing is to consider your own preferences.
Music mixing
To achieve the best quality of music mixing, it is necessary to carry out thorough acoustic preparation of the room. This includes leveling the amplitude-frequency response (AFC) of the room and eliminating resonances. All the previously given tips will be helpful in this process. To evaluate the results, you will need a special microphone with linear frequency response, such as the Behringer ECM 8000, and the free Room EQ Wizard program.
The microphone should be installed at the listening point where the listener is usually located when working with sound. After taking measurements, the program will automatically generate graphs of the amplitude-frequency response and reverberation of the room.


