What Is Gain Staging

The digital audio world can seem confusing. For example, in the physics of sound, loudness is measured in decibels, and the values are always positive, but in digital workstations (DAWs), decibels suddenly become negative. And what is this strange magic?
Another mystery: on the DAW screen you can sometimes see signal levels that are above zero, and sometimes even “positive” decibels appear. What does this all mean? Help me to understand! The terms “volume”, “gain”, “level” are constantly heard around us and on YouTube – but what is the difference between them?
Let’s try to understand this without complicated formulas. After all, we’re mostly musicians, not engineers. And at the same time, we will learn how to properly organize the so-called “level headroom” in our musical projects created using a DAW.
There is essentially no volume in digital audio recording. What are “natural” decibels
“Loudness” is more than just a word that attempts to describe the intensity of sound pressure applied to the ears. For each person, quiet and loud sounds are perceived subjectively. What is just “loud” for one person may be “terribly loud” for another.
Making music always requires taking into account subjective criteria, which sometimes interferes with understanding between participants in the creative process. Therefore, it is important to have a more objective understanding of volume when working on music projects.
In nature there is no direct analogue of volume, as in the digital world. Sound travels through elastic waves in a gaseous, liquid or solid medium. The source of sound is a physical body that experiences mechanical vibrations, such as a string or human vocal cords.
Let’s try to imagine this visually, although not very scientifically: after the string sounds, it vibrates sideways (in three-dimensional space) with a certain frequency and amplitude, creating elastic waves around itself.
These waves cause areas of high and low air pressure that propagate through the gaseous environment. Physicists describe these vibrations as “sound pressure.”
To measure the intensity of sound pressure, scientists have developed a formula that takes into account the pressure itself, the acoustic impedance of the medium and time averaging. This allows us to obtain the root mean square value of the sound intensity at a certain point in time and space.
In music, sound vibrations are mainly periodic, similar to the vibrations of a string. Sometimes we evaluate their intensity using the concept of “sound pressure amplitude”, but in reality this is not so important.
What’s really important is that positive decibels (denoted by a “+”) in physics refer to the intensity of sound pressure, but only relative to a specific point on a scale. Decibels are relative, logarithmic or submultiple units and only make sense if there is a “starting point”.
In physics, this starting point is a pressure level of 20 micropascals (µPa) – this is the average threshold of human hearing when he does not yet perceive sounds and feels silence. Although the cat probably wouldn’t agree with this.
The degree of perceived loudness by a person is studied separately, using its own units of measurement, such as funds, its frequency composition and other factors. But when working with a DAW, these details are not so important. The main thing for us is not to get confused with decibels.
0 decibels SPL (sound pressure level) means silence for a person. Below are some typical values for comparison:
- 15 dB – “Barely audible” – it’s like the rustling of leaves;
- 35 dB – “Clearly audible” – for example, a muffled conversation, a quiet environment in a library or noise in an elevator;
- 50 dB – “Clearly audible” – this is like a conversation at medium volume, a quiet street or the operation of a washing machine;
- 70 dB – “Noisy” – for example, loud conversations at a distance of 1 m, the noise of a typewriter, a noisy street or a working vacuum cleaner at a distance of 3 m;
- 80 dB – “Very noisy” – this is like a loud alarm clock at a distance of 1 m, a scream, the sound of a motorcycle with a muffler or the sound of a truck engine running. Listening to such sounds for a long time may cause hearing loss;
- 95 dB – “Very noisy” – for example, the noise of a subway car at a distance of 7 m or a loud piano playing at a distance of 1 m;
- 130 dB – “Pain” is like a siren, the noise of riveting boilers, the loudest scream or a motorcycle without a muffler;
- 160 dB – “Shock” is the level at which the eardrum is likely to be ruptured, such as a shotgun blast close to the ear, a car sound system competition, or the shock wave from a supersonic aircraft or 0.002 megapascal explosion.
Sound recording. Volume and Gain
When we record sound, we have to convert periodic sound vibrations in the air into electrical ones. Since the invention of the phonautograph in 1857, scientists and engineers have experimented with various methods of recording sound.
It turns out that the most effective and cheapest way is to use electrical devices such as microphones, magnetic and piezoelectric pickups (for strings and sometimes percussion instruments such as pianos).
These electroacoustic devices intercept air sound pressure fluctuations (magnetic pickups record string vibrations, and piezoelectric sensors record body vibrations) and convert them into an analog electrical signal.
At the moment of this transformation, the sound “disappears” for us. After this we deal only with “quiet” electrical oscillations during our work.
It is these vibrations that are transmitted inside musical equipment – amplifiers, analog effects, tape recorders, etc. In order for these vibrations, whether amplified, processed, or simply recorded on magnetic tape, to turn into sound again, they must be converted back into sound using a special device air vibrations. This device is called a speaker.
An analog signal has the main property – it is continuous in time and at every millisecond – or at least one millionth of a second – it has a certain parameter. Let’s say, in the case of an analog electronic representation of sound, this could be amplitude (the largest spread of values from the average).
The analog signal received from the microphone shows us a history of frequent changes in sound pressure over a period of time. We sing, say, a song in which we have planned 2 minutes of vocals in the verses and choruses, and when recording we get, as it were, a chronicle of changes in sound pressure on the microphone membrane.
Electrical analog signals obtained by converting sound vibrations are most easily represented in the form of sine-like graphs. Musical and non-musical sound are, in fact, a complex sum of sinusoids.
But it can also be simple – when the analog tone generator gives us one single sine wave with a frequency of, say, 440 Hertz (note “A”), we hear a clear but boring “beep” from the speaker.
And finally, here we get to the gain. The word gain means gain. We set its level with regulators on amplifiers and sound cards. This differs from the “volume” or “sound pressure level” (Level) control knobs in that we can amplify the signal beyond the limit beyond which its distortion begins.
Now let’s take a closer look: our sinusoid (remember that it symbolizes and visualizes for us an analog signal inside an electrical appliance) is such symmetrical round “hills” and “valleys” that repeat periodically.
We can increase the height of the “hills” and the depth of the “valleys” (that is, the amplitude) or, in other words, “strengthen the signal”, “add gain” not indefinitely.
We won’t talk about the circuit design of the devices here, let’s just take it on faith that each of them has a physical limit to which the device can increase the amplitude of the signal proportionally – without “breaking” it.
When the gain reaches a critical point and goes beyond the permissible values, the physical circuit of the device begins to cut off the “mountains” from above and trim the “valleys” from below.
In engineering parlance this is called “analog clipping”. In this case, in addition to the useful sound signal, wheezing, rattling, and crackling may be heard from the speakers. In audio engineering this is also called “nonlinear distortion.”
Now we can understand that the volume level in musical technology is a change in the amplitude of the signal BEFORE the limit beyond which it begins to distort. And “gain” can easily go beyond these limits.
The paradox is that when the gain is increased by significant amounts beyond the permissible value, the sound pressure created by the speakers (to which the processed signal is output) does not always increase. The above is true for digital audio processing.
Let’s say, inside a DAW that sends the processed signal to the sound card, when clipping and turning up the gain on the virtual console into the zone of insane values, no real increase in the volume level occurs. In the speakers of audio monitors we only hear the addition of more and more distortion. This is due to the special representation of sound in “digital”, about which we will say a few words below.
For now, let’s return to “negative decibels.” Remember that dB are relative units that only make sense if they are related to some reference point.
In sound recording, such a point is taken to be the signal level beyond which distortion begins. It is designated as “zero”. Everything in the “to zero” zone is a signal without clipping, the level of which is indicated in dB with a “minus”. Everything above is a distorted signal with a cutoff in amplitude (“peaks and valleys”). And they denote it in dB with a “plus”.
It is customary to display the volume level in “negative” decibels on both analog and digital devices. It’s convenient and visual.
What happens to volume in digital?
In our sound cards, the analog signal is first amplified slightly by a preamplifier and then passed through an analog-to-digital converter (ADC). To simplify, this is what an ADC does:
- It cuts off a frequency band, removing unnecessary things, for example, sound below 20 Hertz, which a person still cannot hear;
- The ADC splits a continuous signal into a certain number of individual values (sampling and quantization), that is, it actually turns our smooth sine wave into a sequence of “columns”.
The sampling frequency determines the number of such “columns”. The quantization bit depth, or “bit depth,” determines the accuracy of each “column” representation.
The higher the sampling rate (more bars), the closer the digital signal is to the original smooth sine wave.
The bit depth affects the accuracy of signal measurement at a certain point in time. The more bits, the smaller the error. 16 bits for audio is not bad, 24 bits is even better.
- The ADC encodes or “digitizes” each “column”, representing it as a specific number with a serial number.
In our digital audio stations, physical sound, first converted into an analog signal and then into a digital signal using an ADC, becomes a set of mathematical abstractions. Understanding that sound is just mathematics is important. There is no real “sound” in the wires or software.
The “zero” volume level in a digital audio station, beyond which distortion begins, is also conditional. For a 24-bit ADC depth, the “digital zero” is just 24 binary “cells”, each containing the value “1”.
Since the 25th and all subsequent cells are missing, a signal exceeding “zero” simply cannot increase in volume. Instead, more and more distortion is added to it.
When working with volume levels in digital audio stations, it is important to avoid distortion. Because the digital signal collected from the master buses of our audio station is sent to a digital-to-analog converter (DAC), which outputs it to audio monitors or headphones. Here we hear distortion (clipping), which indicates damage to the audio track. Sometimes distortion can be pleasing, such as when adding slight tape (tape) distortion, which sound engineers can use purposefully.
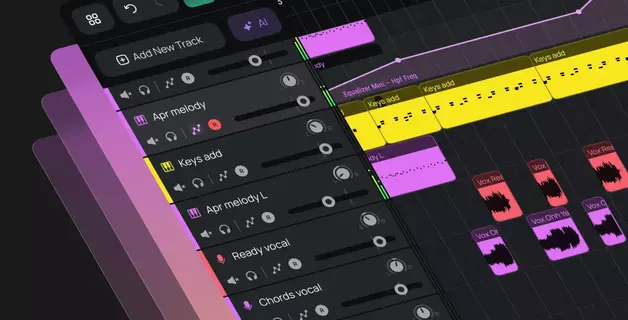
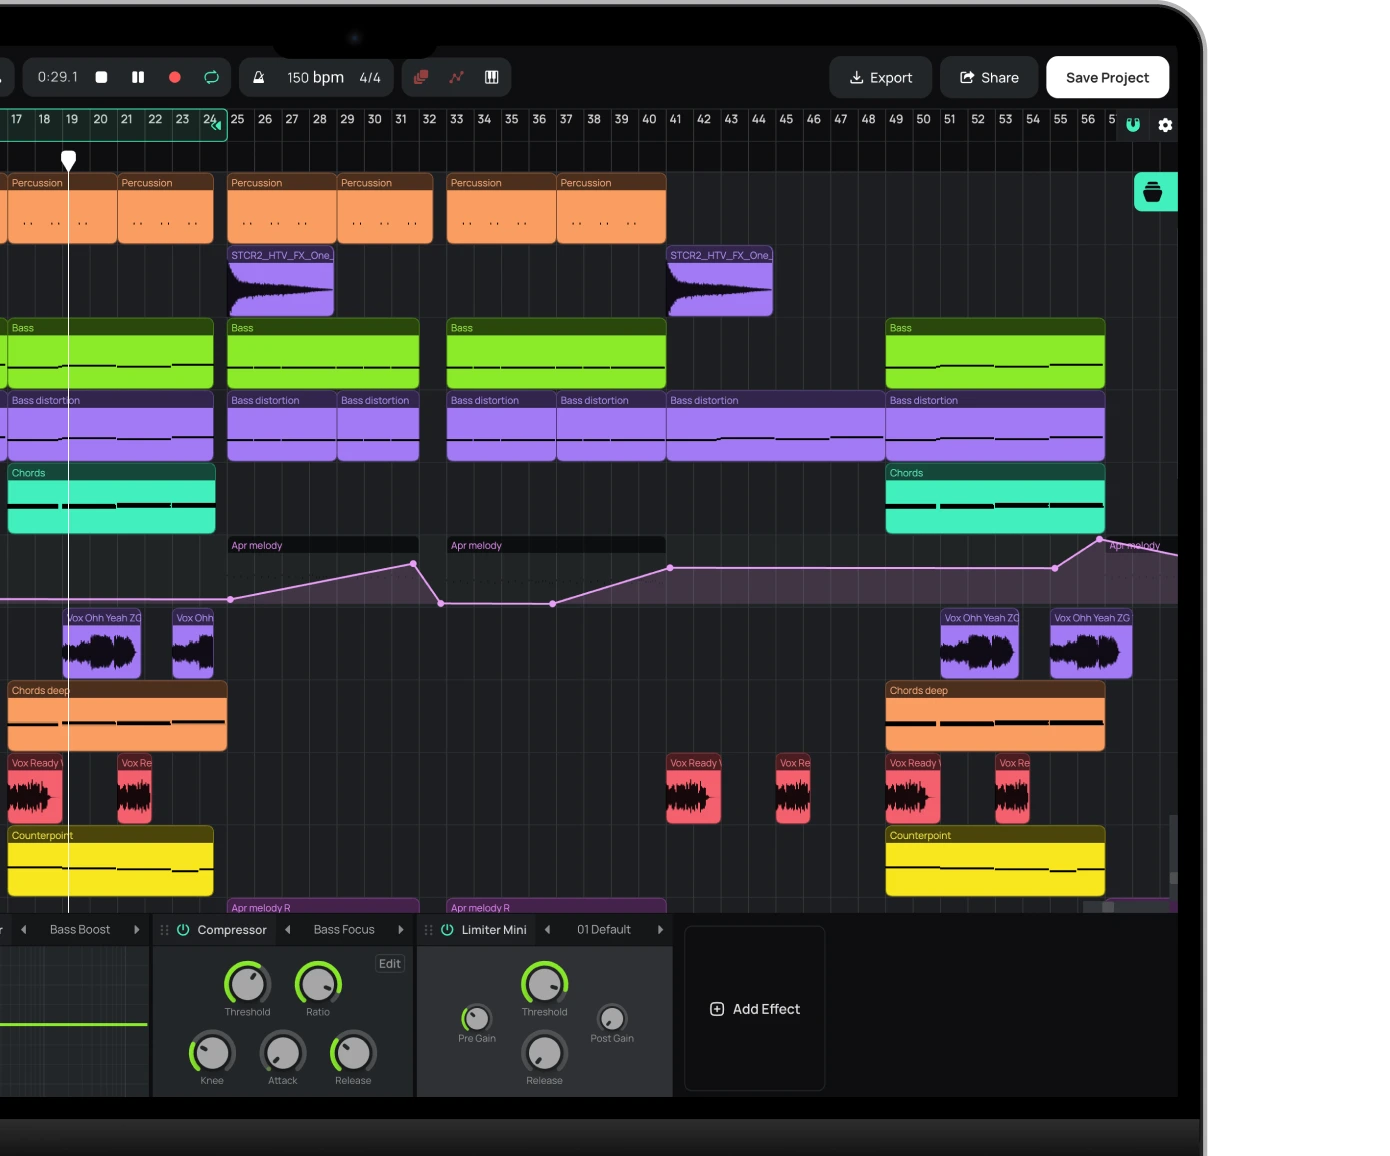
How to Handle Volume Levels in your DAW
World labels both in the West and in the East, which have sound engineers on staff or enter into contracts with them, usually request mixes and stems from musicians without mastering with volume levels no higher than -6 dB at peak. They need this in order to have a “volume headroom” for further processing.
It is important to understand that we are talking about peaks, not the average sound pressure level of a soundtrack, which is measured in RMS or LUFs (formal average loudness combined with perceived loudness).
Logic and experience dictate that when recording voices, live instruments and synths through a sound card, we can control the level of gain on the input and see the -dB level inside the DAW.
Strive to ensure that the peaks of the recorded signal at the input never exceed -6, -5 dB is acceptable, and do not allow “income” to reach 0 dB.
By using virtual synths and sampled instruments inside your DAW, you can feel a little freer. However, it is necessary that there is always a “headroom” in volume at the outputs of virtual instruments and processing plug-ins.
When starting an arrangement in a project, it is recommended to immediately set the DAW console faders for all tracks to -10, or preferably -12 dB. This will create a volume reserve.
It is important to remember that the soundtrack usually contains drama. Musical events develop, leading to climaxes. And when many instruments enter the forte at the same time, the total signal level on the master bus will necessarily exceed the signal level of any particular track. Therefore, the label for final processing (mastering) should provide a file in which the peaks do not exceed -6 dB.
It’s better to avoid exceeding this level on the master bus during arranging and pre-mixing than to waste time lowering the level of each track later. You should also be aware of the possibility of volume automation, which can lead to additional problems. It is advisable to get in the preliminary mix the same picture that was originally intended.
Fears that a mix will sound “quiet” are often unfounded. Sound in a DAW is never really “quiet” – it’s just a mathematical abstraction. A label engineer given a stems or dry mix with -8 or even -10 dB peaks will not be disappointed. He will make all the necessary adjustments himself.
When working with volume levels in your DAW, there are a few rules to follow that will help you avoid most problems.
Start creating beats and songs in minutes. No experience needed — it's that easy.
Get started