Audio Equalization

qualizer is an important topic for music producers. This is a fundamental and difficult process, which is why beginners often spend most of their time mixing music setting it up. It is important to have a clear understanding of the basics for such a large topic. Audio equalization is a powerful tool, and if you do not know enough, you can easily do more harm than good.
A good starting point for deciding when to use equalizer in a mix is to turn it off. Try balancing the levels between instruments using the faders. After that, if you have a trouble with what you want to hear, it’s time to think about audio equalization.
This tool solves frequency masking problems. This is the “cloudiness” that occurs when instruments with overlapping frequencies collide with each other, making it difficult to hear simultaneous sounds clearly. For example, if you are having trouble hearing a kick drum over a bass guitar, then that’s the job of an equalizer.
In this article, we will cover everything you need to know to start using an equalizer like a pro – from scratch.
Equalizer Options
Audio equalization options are used to set filters that will boost or cut the frequencies of the audio signal. The general options include:
- Frequency – selects the one you want to increase or decrease;
- Q – (central frequency divided by bandwidth) controls the bandwidth – how wide or narrow the boost or cut will be. In other words, you can define the range that the audio equalization will affect. Higher Q values will give you a narrower bandwidth, while lower Q values will allow you to boost or cut a wider range;
- Amplification – determines how much the selected frequencies are cut or boosted;
- Type – allows you to select the filter shape for the selected frequency band;
- Slope – Sets the slope of the filter for high or low frequencies.
Equalization Principles
Audio equalization in music is the process of adjusting the level or amplitude of certain frequencies to produce a clean and balanced mix.
If you dig even deeper, then music is a combination of sound waves vibrating at different frequencies. Any sound can be described by its frequency. It determines the pitch of the note. The frequency vibrating at 440 Hz is the “la” note in modern music.
Of course, audio equalization in music is much more complex than pure sinusoidal tones. If you hit the open A string on your guitar and run the result through a frequency analyzer, you will see more than just a thin stylus pulsing at one particular frequency. You will see a lot of them.
This is due to many factors. The design of each instrument contributes to its specific harmonic content. At the same time, if you play a note on one guitar, it would not have the same timbre as the other. But what happens when we run music through a frequency analyzer?
We see many frequencies, and they all happen at the same time! And now we can move on to what audio equalization is, in simple terms. It is like the volume control on your phone – buttons that make music louder or quieter. An equalizer is essentially a level control for individual frequencies. It allows you to focus on a selected group of frequencies, giving you the ability to determine how to affect on that group. You can take many frequencies and increase them (“boost”) or select just a few and lower them (“cut”).
Timbres and Frequencies
Imagine a horn and an electric guitar playing the same note “la” = 440 Hz.
What makes them sound different? Both instruments play a note with the same fundamental frequency, but each has its own unique timbre. The timbre of a sound gives our brain a lot of information about what it represents in the real world.
Unique, recognizable timbres are a feature of all complex sounds. All complex sounds in audio equalization can be broken down into simple sinusoidal wave components. These main components are called partials.
If the partials are related to the underlying whole ratio (i.e. 2:1, 3:1, 4:1, etc.), they are harmonic. If not, then they are inharmonious.
A very harmonious sound, such as the string of a bowed cello, is rich in evenly connected parts, while a very inharmonious sound, such as the rumble of a cymbal, consists only of unrelated parts.
Types of audio equalization
Shelving equalizer
Shelving equalizer affects all frequencies above or below a certain point. At high, everything above the target frequency is cut off, and at low, everything below the target frequency is cut off.
Shelving equalizer is mainly used for the highest or lowest frequencies.
Graphic equalizer
Graphic equalizer may be familiar to you from old school stereos or amplifiers. Frequencies are grouped into broader categories and you can cut or boost each of these categories to shape the sound. This type of audio equalization gets its name from the graphical appearance formed by all the sliders set at different points.
The advantage of a graphic equalizer is that it quickly and easily removes unwanted frequencies from a track. However, they lack precision. You are unlikely to use this type in a home recording studio as you will likely have access to a parametric equalizer in your DAW which will give you a lot more functionality.
Parametric equalizer
Parametric equalizer is the type of audio equalization that you, as a home audio engineer, are likely to use the most. The name parametric comes from the fact that you will be able to change a number of different parameters very precisely. These are the gain (boost or cut) and the center frequency.
But it is also possible to control the third value, which is the bandwidth or “Q” value. This parameter controls the range of frequencies affected by the cut or boost. So, in audio equalization of sound, a wider bandwidth will affect a larger range, and a narrower bandwidth will affect a smaller range.
Equalizer high and low frequencies
High and low frequencies filters differ from shelving filters in that they can only eliminate certain frequencies, not boost them.
Audio equalization of the high frequencies filter lets the high frequencies pass and therefore cuts the lows, while the low pass filter of the low frequencies passes the lows, cutting the highs.
Band equalizer
Band equalizer affects the middle frequencies, not the highs or lows.
This type of audio equalization is most often used in live performances. This is especially useful for eliminating the feedback effect that can occur at these middle frequencies.
Filter types
Audio equalization is essentially a special application of a filter. The quality of the filter your equalizer uses to cut or boost has a lot to do with its sound and the best way to use it.
Parametric, bell and peak filters
Parametric equalizer, bell or peak, is a common type of audio equalization that is extremely versatile. It can be used to pinpoint and cut/boost a very small range of frequencies, or it can be used more broadly to adjust tonal character. Usually it is used in the middle of the range. It differs from other types of audio equalization in its bell-shaped form.
When we talk about making certain frequencies louder or quieter—when we say we are going to “cut” or “boost”—we are talking about amplitude.
The number of frequencies we can make louder or quieter is determined by the Q parameter or “Quality Factor”. The Q point determines the “bell form” or how wide the area around the center frequency will be. Filter can capture more frequencies at low or “wide” settings.
At high or “narrow” audio equalizer settings, it is much more specific, while capturing fewer frequencies.
Filters of high and low frequencies
Filters of high and low frequencies are great for cutting out entire bands of frequencies that you definitely do not want in your tracks, especially in harmonic, melodic, or otherwise arrhythmic recordings.
These settings in audio equalization often have slope controls that can be similar to the Q controls on parametric equalizers. The slope determines how steeply or gradually the filter will cut off all extraneous sounds.
Filters of high frequencies cut all frequencies below the selected cutoff point. They are often used to suppress very low noise below 60 Hz.
Conversely, filters of low frequencies cuts all frequencies above the cutoff point. This filter is often used to suppress very high hissing noises above 18 kHz. Use it with care not to cut too much.
High Shelf and Low Shelf filters
Shelving filters are great for boosting low frequencies or adding high-frequency sparkle when needed.
Low Shelf is typically used in the low-mid to low audible spectrum audio equalization to reduce some of the rumble caused by mic stands and other low frequency sources, including percussion instruments.
Conversely, a High Shelf filter boosts or cuts high frequencies. It can be used effectively to brighten up a track by using a positive gain of 3 or 4 dB and a cutoff frequency of 10 kHz or higher (be careful as this setting can increase the overall noise of the track).
The first rule of audio equalization is the less is the more. Extreme tonal shifts can have a negative effect on your sound.
The best way to use the equalizer is to use it as little as possible. With this in mind, there are two main approaches to equalizers.
- Additive: Boost frequencies to achieve the desired results.
- Subtractive: Cuts unwanted frequencies.
There is a lot of debate about what is better to do, one or the other. But if your goal is to use as little audio EQ as possible, you can simply choose whichever approach is the most direct route to your goal.
Fundamentals of Audio Equalization
Corrective equalization: attenuation of frequencies by an equalizer
This type of audio equalization corrects some annoying imperfections such as noise, echo, and so on. To do this, it is necessary to cut the frequencies of the range in order to hide or completely get rid of signal distortion. In addition, clipping is often used to boost the signal of other sounds, which reduces the likelihood of new problems during boost.
You can listen to the instrumental parts, while evaluating their sound to determine the frequencies that need to be cut. That is, you can determine unnecessary elements and find out which fragments need to be processed with the help of hearing. Equalizers often have an analyzer that can independently determine the places that need additional processing.
During audio equalization, to identify problems in the sound and find the ranges that need to be cut, you should use the gain boost, as well as completely narrow the width of the curve using the Q control. Then you can move the point along the spectrum scale. You can easily find frequencies with problems using these manipulations. In this case, the signal must be corrected in those places where the found flaws are most audible. The amount of signal attenuation will depend on what kind of sound you want to achieve.
Formative Audio Equalization: EQ Boost
When the signal has been corrected, you need to make sure that the instruments and the overall frequency of the mix have enough. If a lack of certain frequencies has been identified, then you can use shaping audio equalization, which should amplify the signal. The curves during boost should be wide yet smooth to enhance the range and make it more powerful.
The problem is that no one can name a universal formula for how much to boost frequencies. If you overdo it, for example, in a barrel, then it will become deaf and start to make noise. However, a lack of gain can also ruin the kick by stripping it of its brightness.
If you increase the audio equalization within 150-350 Hz, then the signal will be warmer and more saturated, but only if you guess with the amount of boost, because too much gain can lead to a “cloudy” signal and the sound will be unpleasant to listen to.
How equalizer is used
As you mix, you will probably use equalizer on every single track in your session.
However, having such an important tool, you should have a solid foundation on which to use it. Knowing how audio equalization affects the timbre of your sounds is the key to getting the right settings for your mix or master record. Now when you have got the basics, get back to your DAW and create the perfect sound.
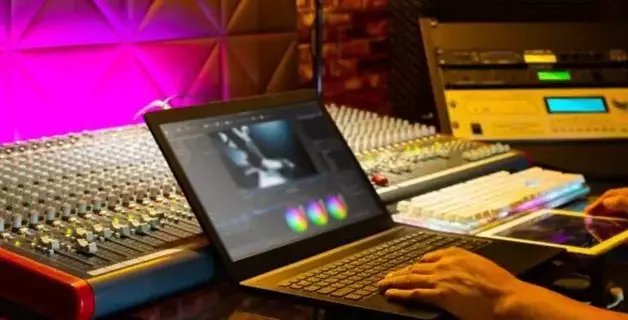
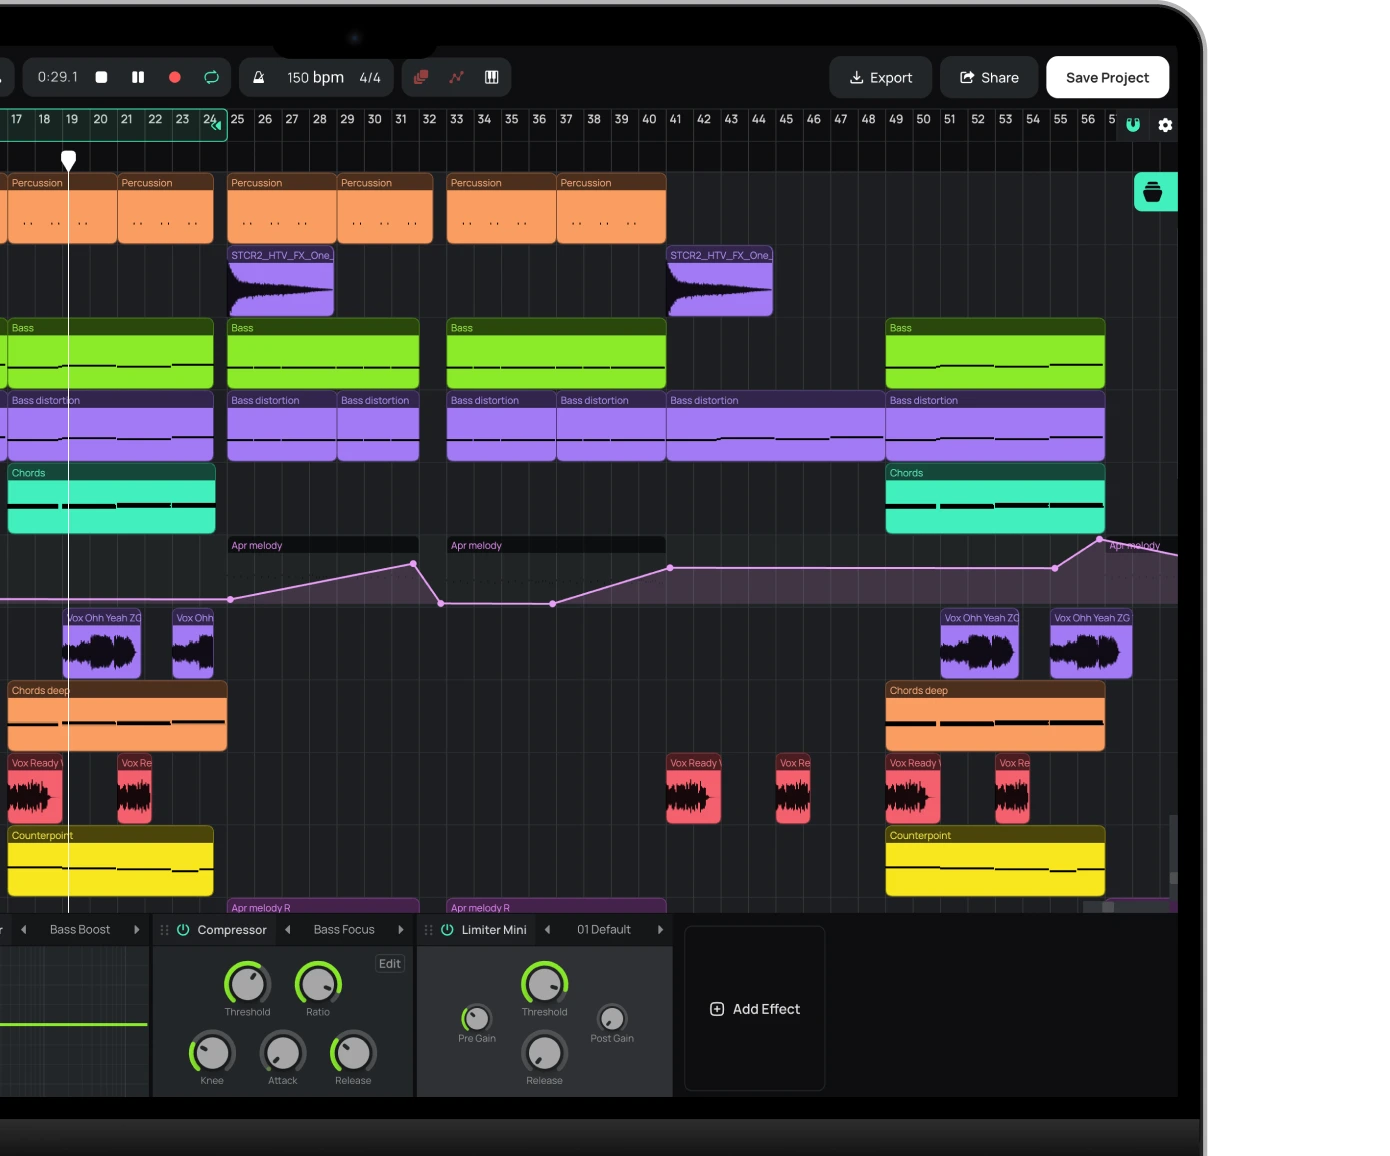
You will find a professional and user-friendly audio equalization tool in Amped Studio online sequencer that includes the best filters for sound processing. You can create in the program available in the browser your track from scratch, thanks to the mass of built-in tools and plug-ins, then adjust the sound in it in the equalizer, mix and master.
Conclusion
Using audio equalization is quite simple, but in creating mixes a lot of things depend on it. At the same time, many musicians believe that the equalizer should be used as an indispensable tool for correcting the sound. At the same time, others insist that the entire sound of the mix should be formed around it. It is actually a little more complicated and you will have to combine both of these methods to get the best result. The key to success is to have a clear understanding of why you are using this tool and what you want to get out of it.
Start creating beats and songs in minutes. No experience needed — it's that easy.
Get started