Parallel Compression

Parallel compression is a powerful mixing technique that is actively used in music, but is often misunderstood. In this article we’ll tell you what it actually does and how it can help you create better mixes.
The art of parallel compression plays a big part in how full and loud modern mixes sound. While some argue that its use is not always appropriate, it is worth noting that this type of compression is not necessarily intended for use in all musical genres. Compression suppresses most of the dynamics when it’s overdone, but the song should be compressed heavily to make it as loud as possible without blowing up your speakers.
The first thing to understand is that any form of compressor reduces the dynamic range of the input signal. Whether it’s set up to make loud parts quieter or quiet parts louder, it basically exists to reduce the overall dynamic range from something big and unmanageable to something smaller and more suitable.
The term “dynamic range” can also be interpreted in different ways, but in this article, it shall mean the range of average signal levels between the quietest musical element and the loudest.
If you are a sound engineer who works with multiple genres of music and wants to compete in the contemporary market, you should tell the difference between standard and parallel compression. If you use parallel compression in the right way, you can create a nice dynamic mix that will sound really loud and punchy.
History
Dolby A’s internal noise reduction circuit, introduced in 1965, contained parallel busses with audio compression on one of them, and the two were mixed in a flexible ratio. In October 1977, an article by Mike Beville was published in Studio Sound journal describing this technique as applied to classical recordings.
The Beville’s article titled “Compressors and Limiters” was reprinted in the same journal in June 1988. A follow-up article by Richard Hulse in Studio Sound published in April 1996 included tips on how to implement this technique on an DAW. Bob Katz introduced the term “parallel compression” and described it as an implementation of “upward compression”, increasing the audibility of softer passages. Later, studio engineers in New York became known for relying on this technique, and it became known as “New York compression”.
Application
Our hearing is sensitive to a sudden decrease in the volume of harsh sounds, but less receptive to an increase in the volume of quiet sounds, and parallel compression takes advantage of this difference. Unlike conventional limitation and bottom compression, fast transients in music are preserved by parallel compression, leaving the “feel” and immediacy of a live performance. Since this method is less audible to the human ear, the compressor can be tuned aggressively with high gains for a strong effect.
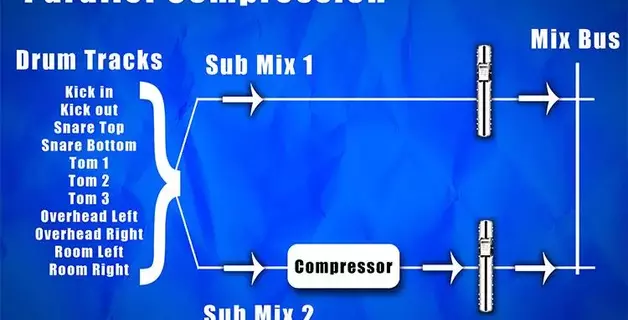
In an audio mix using an analog mixing board and analog compressors, the parallel method is achieved by sending a mono or stereo signal in two or more directions and then summing multiple paths, mixing them together by ear to achieve the desired effect. One path goes straight to the summing mixer, while the other paths go through mono or stereo compressors aggressively tuned to reduce gain with its high coefficient. The compressed signals return to the summing mixer and mixed with the direct signal.
If digital components are used, delay must be considered. If the conventional analog method is used for a digital compressor, the signals going through parallel paths will arrive at the summing mixer at slightly different times, creating nasty comb filtering and phasing effects. The digital compressor path takes a little longer to process the audio, about 0.3–3 milliseconds longer. Instead, both paths should have the same number of processing stages: a compression stage is assigned to the “direct” path, to which an aggressively high ratio is not given. In this case both signals go through compression steps and both paths are delayed by the same amount of time, but one is set to no or very little dynamic range compression, and the other is set to a large gain reduction.
This method can be used creatively to “saturate” or “boost” a mix by carefully adjusting the attack and release times on the compressor. These settings can be adjusted further until the compressor causes the signal to “pump” or “breathe” in accordance with the tempo of the song, adding its own character to the sound.
Significant advances in this technique have been made by studio mix engineers such as Michael Brauer from New York, who simultaneously uses five parallel compressors individually tuned for timbre and tonal variations blended to his liking to achieve his target sound for Rolling Stones, Aerosmith, Bob Dylan, Coldplay, and other vocals.
Mix Engineer Anthony Puglisi uses parallel compression conservatively applied to the entire mix, especially in electronic dance music, without resorting to plug-ins that squeeze dynamics out of your song. This gives synthesizer solos or other melodic elements the pulsating quality that is characteristic of the genre. Moreover, one or more tracks can be tied to the bass drum, thereby only compressing them when the beat comes in.
Here are several more tips to help you get the most out of this powerful technique:
- You can use parallel compression like a phaseless equalizer;
- Set it up as a sidechain compressor, using an equalizer version of the original sound as sidechain input;
- If you equalize frequencies in a signal that you want to boost, the compressor will only affect the opposite frequencies;
- Experiment with the equalizer after the parallel compressor to add extra sparkle to your song;
- Make sure delay compensation is enabled. It takes a few milliseconds for the computer to process the sound with the compressor;
- Do not overdo it. Too much parallel compression can make a track sound too flat and one-dimensional, even tiring the listener’s ear.
Types of Parallel Compression
Downward Compression
The vast majority of compressors use “downward compression”, which essentially means that loud sounds are made quieter. More specifically, signals below the threshold level are left at rest, while signals above the threshold are “squashed” by the amount determined by the ratio setting.
Reducing the Dynamic Range
Now let’s imagine a music signal where the quietest element is -35 dB of the full scale and the loudest element is -5 dB, so we have an initial dynamic range of 30 dB. If we were to run this signal through a 2:1 compressor with a -20dBFS threshold, the output signal would range from -35dBFS (this level is below the threshold and therefore unchanged) to -12.5dBFS. The last digit occurs because the peak level of the source (at -5 dBFS) is 15 dB above the threshold and will thus be halved to 7.5 dB above the -20 dBFS threshold, which is -12.5 dBFS.
Therefore, the dynamic range has been reduced, in this case from 30 dB to 22.5 dB, and at the same time the peak level has been reduced by 7.5 dB.
This form of compression is useful when we want to reduce the dynamic range without reducing the peak level. In other words, we want to boost the quieter components of the signal rather than mute the louder ones. The usual way to achieve this is to introduce “compensation gain” at the output of the compressor.
Upward Compression
So, using the same conditions as in the previous example, let’s say we want the same reduction in the dynamic range, but we also want the peak level to stay at -5dBFS. This is easily achieved by keeping the same compression ratio and threshold settings, but setting the equalizing gain to 7.5dB.
The direct effect of adding 7.5 dB of equalizing gain is to increase the overall output level, which can be seen as a vertical shift of the 45-degree linear portion of the transfer curve. In this case, the input signal at -35dBFS comes out of the compressor at -27.5dBFS, and all quieter elements in our music signal are boosted by the same amount of 7.5dB.
Louder elements, those above the -20dBFS threshold, are compressed as before at the 2:1 ratio, but since the compensation gain counteracts the reduction in the compressor’s peak level, the highest input level appears at the output at the same -5dBFS level.
Highly Mobile Compression
Conventional downward compression, whether used on its own or with the compensation gain, inherently modifies the character of loud signals to some extent, attenuating them. Rule number one for any lowering compressor is to turn off everything that is loud! However, the action on lowering the level (and then restoring it) is not instantaneous. This happens over a time scale that is determined by the attack and release time constants of the compressor. The inevitable result is that the sound and shape of complex but delicate and loud transient signals can be changed quite drastically. This is an important part of the reason why different compressor designs can sound so different, and why one compressor may be preferable in a given situation over another.
An alternative way to reduce the dynamic range that could potentially avoid this problem of damaged transient processes is to compress quieter signals and leave the loud ones unchanged. In other words, we could use a device that boosts signals below a threshold. This is the true “upward compression” briefly described above, and this arrangement, at least in theory, will keep loud but delicate transient signals completely intact, suppressing only the quieter elements.
Drums
Parallel compression is very often used for drums. If you’re trying to tame the drums in the mix and put compression in every channel, you’ll likely destroy all dynamics and end up making them sound very weak when all the other instruments will play over them.
In other cases after you apply compression, you increase the gain to compensate for its decrease, which will eventually cause your mix bus to fail at the beginning of the mixing process and mess up the gain setting for the rest of the song.
Using parallel drum compression in mixing music can help preserve all the dynamics of the source material while adding volume, depth and power to it without ruining or adding too much gain that overloads the mix bus. While the volume added by parallel compression comes from a heavily compressed signal and is mixed to taste, it won’t add as much peak volume to the mix bus as it will compensate the gain from the compressor output.
Most music engineers use multiple parallel compressors to complement different aspects or frequencies of the drums. For example, the first one of the compressors is intended for ratio, the second one – for warmth, the third one – for kicking the bass drum, small drum and toms, the fourth brings out more room tones, and the last one adds excitement to cymbal hissing and sustain.
It’s always good to have a good original record when using this method, if the source material doesn’t sound very good initially, this method can amplify all the bad in the recording.
Parallel drum compression is also used when setting up kick, snare, and crash. This setup is tailored specifically for the bass drum and a small drum, adding depth, length and attack to them. It can be used in conjunction with other full set parallel processors, but in most cases you won’t send this K/S crash to a group of parallel buses, you’ll send them straight to the mix bus. The send and return setup works the same way as above, but this time you’re sending both the bass drum and the small drum to the same compression channel. Common compressors for this setup are the Empirical Labs Distressor, Universal Audio 1176, DBX 160 and Teletronix LA-2A.
The bass drum and the small drum are usually played in different parts of the bar, the bass drum is usually played on the first and third, and the small drum – on the second and fourth. Sending them both to the same parallel processor will cause the compressor to respond to the rhythm of the song. The bass drum will typically be the first to start the compressor, once it is fully compressed it gets back to zero gain reduction, the small drum kicks in and re-starts the compressor. This will cause the gain reduction indicator to play in the rhythm of the song, resulting in a more musical and transparent form of compression rather than their independent operation.
Once the desired compression ratio is set, use the channel fader to mix in the right amount of parallel processing to enhance the sound of the bass drum and the small drum. Sometimes volume will be at unity gain if you want the bass drum and the small drum to drive the mix, sometimes it will be set to -20dB or lower and just be used to add a little more depth and presence than before.
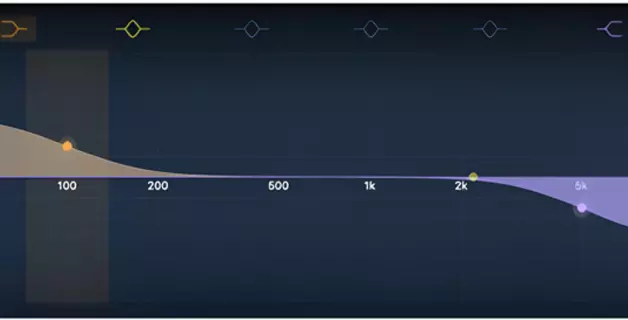
Some engineers then equalize the parallel channel to add certain frequencies to make them sound even harder, such as 220Hz to add more depth to the small drum and the bass drum, or such frequencies as 2 kHz or 7 kHz to add crackle and presence effect to the sound.
Vocals
Vocals can be one of the hardest parts of a mix. Most mix engineers focus on making the track as large and loud as possible with the vocals being the last thing to add on top of everything. Almost every other instrument on record has multiple microphones. Drums usually have over 10 layers like any electronic drum layers, guitars have two or more mics per track and then multiple layers, two or more bass channels, multiple synth layers, percussion and so on. It’s not uncommon these days for a pop or rock track to contain over a hundred instrumental compositions with all the layers put in place.
Then you have lead vocals which is one track, maybe two or three if you have a few doubles or triples in certain parts of the song. In modern music production, engineers typically triple each layer of harmony, so if you have a two-part harmony going over a lead vocal, that’s an extra six tracks to compete with.
There are songs that consist of over 100 instrument tracks, around 45+ vocal harmonies tracks, and one lead vocal track. In such cases thanks to parallel compression one can make this single vocal track compete with 150 others.
Some vocal recordings have a large dynamic range. There is a big difference in amplitude between the loudest and the quietest parts of the vocal.
It’s often best for these tracks to use serial compression (successive use of multiple compressors on a track).
However, sometimes the vocal “fits” well, it is clear to the listener and does not differ in large volume differences throughout the recording.
Parallel vocal compression will not correct large changes in dynamic range as serial compression can. However, it can enhance the quieter parts of a vocal and bring out the subtle details and nuances hidden in it.
This also allows vocal tails at the end of phrases not to get lost in the mix. In order to set up parallel compression for this purpose on a vocal track, start with a faster attack and faster release time on your compressor.
Conclusion
Parallel compression is a great technique to add to your skill set. It can greatly improve your mixing skills by giving new life to the elements of your track, helping to achieve the sharp contrast necessary for some lead elements in a mix.
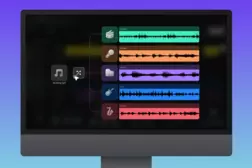
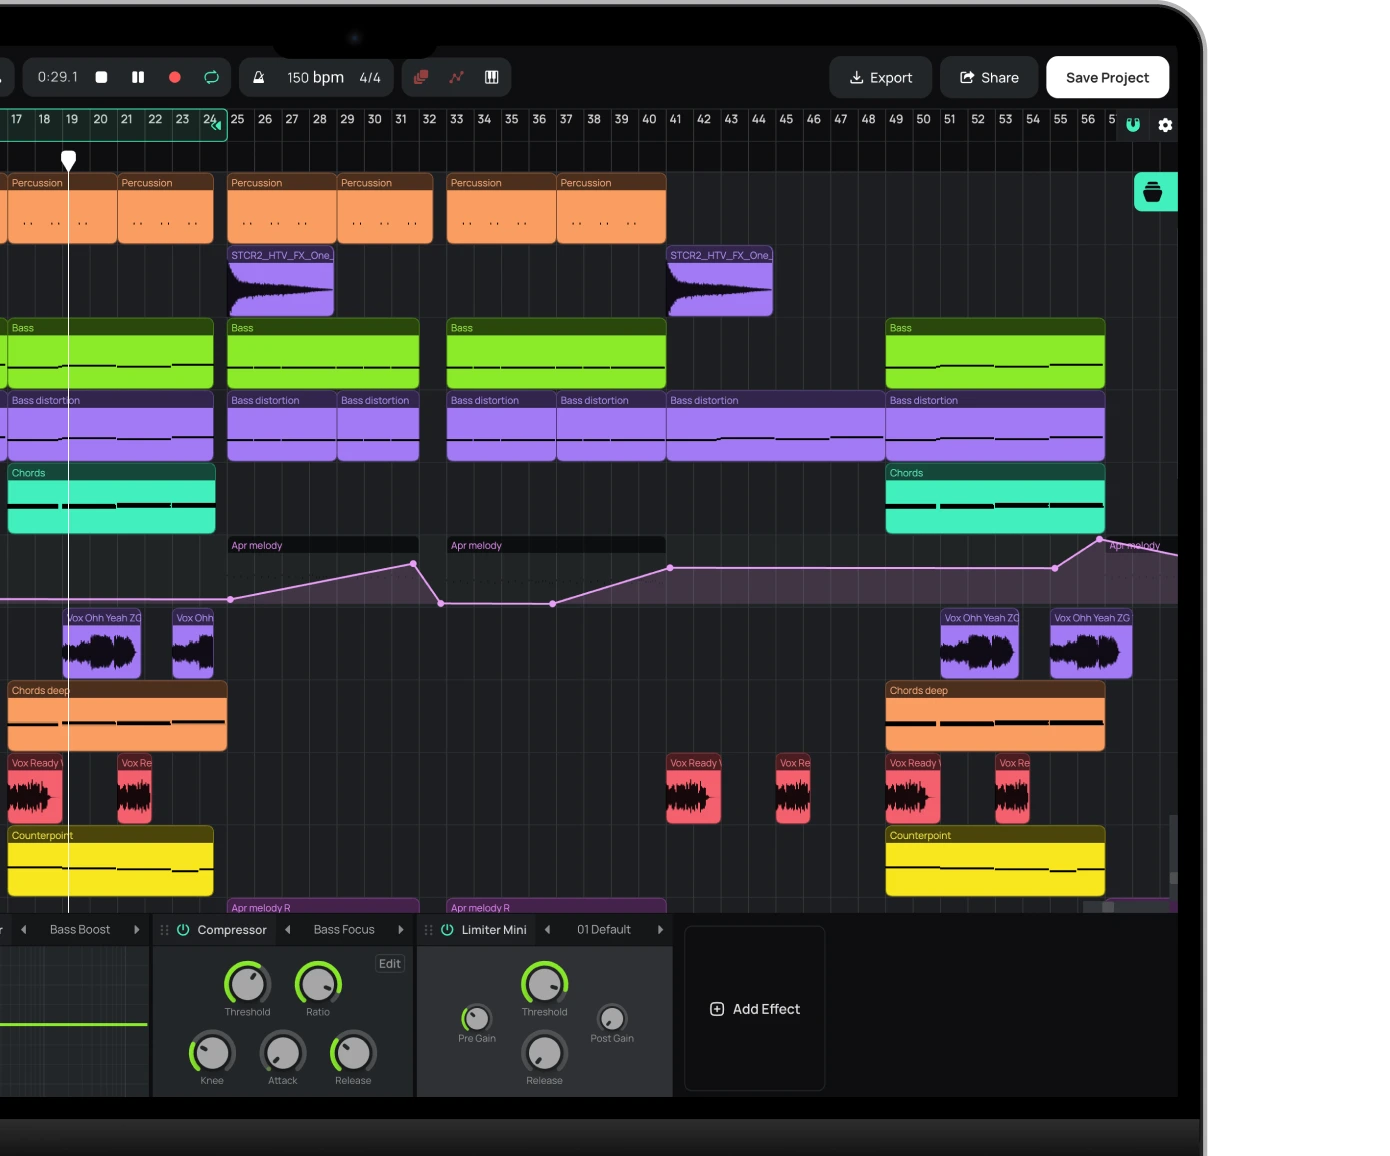
Creating tracks in different genres using parallel compression is very convenient in online DAW Amped Studio. Here you will find a large number of different instruments, effects, a library of samples and much more that is necessary for record producers working in various genres. The program works online in your computer’s browser and does not require installation. All you need to get started is access to high-speed internet.
This allows you to quickly start processing melodies using parallel compression and other tools, as well as to share the results with your friends and colleagues, save and publish your tracks for listeners from all over the world!
Start creating beats and songs in minutes. No experience needed — it's that easy.
Get started