How to make your music louder


The concept of “mastering” often intimidates many individuals. Throughout its history, professional mastering has been regarded as the domain of highly experienced and skilled engineers. The fundamental notion is that one must possess a finely trained ear and have access to a professionally equipped room in order to embark on a career in this field.
Fortunately, modern plug-ins and software have made high-quality mastering possible for anyone who is thinking about how to make music from the comfort of their own home. While a track that is mastered outside of a professional studio may not have the same commercial value and flawlessness as a studio product, great results can still be achieved using equipment available at home.
For significant album or single releases, it is advisable to send your mix to a professional studio for mastering. However, if you find yourself on a tight budget, working on demo tracks, or facing a pressing deadline to fulfill an order, home mastering provides an ideal solution.
Mastering steps
If you believe that “mastering” solely involves processing the final stereo file after mixing, you are mistaken. Mastering encompasses a much broader scope. It is a technique that involves the final refinement of an album or mini-album. The mastering engineer serves as the last checkpoint, meticulously reviewing the entire work before it is burned onto a disc or released in another format.
One aspect of mastering involves determining the track order for the album. While the artist, producer, or record company may have their own vision for the sequence of tracks, it is during the mastering process that a cohesive order is created.
It is essential to pay attention to the album’s initial impact, ensuring it doesn’t start too loud or harsh, and to craft a sequence that gradually builds in volume. Arranging tracks strategically can enhance the overall appeal of the album. Placing tracks of similar tonal modes adjacent to each other allows for smooth transitions within the album. It is important to always keep these factors in mind.
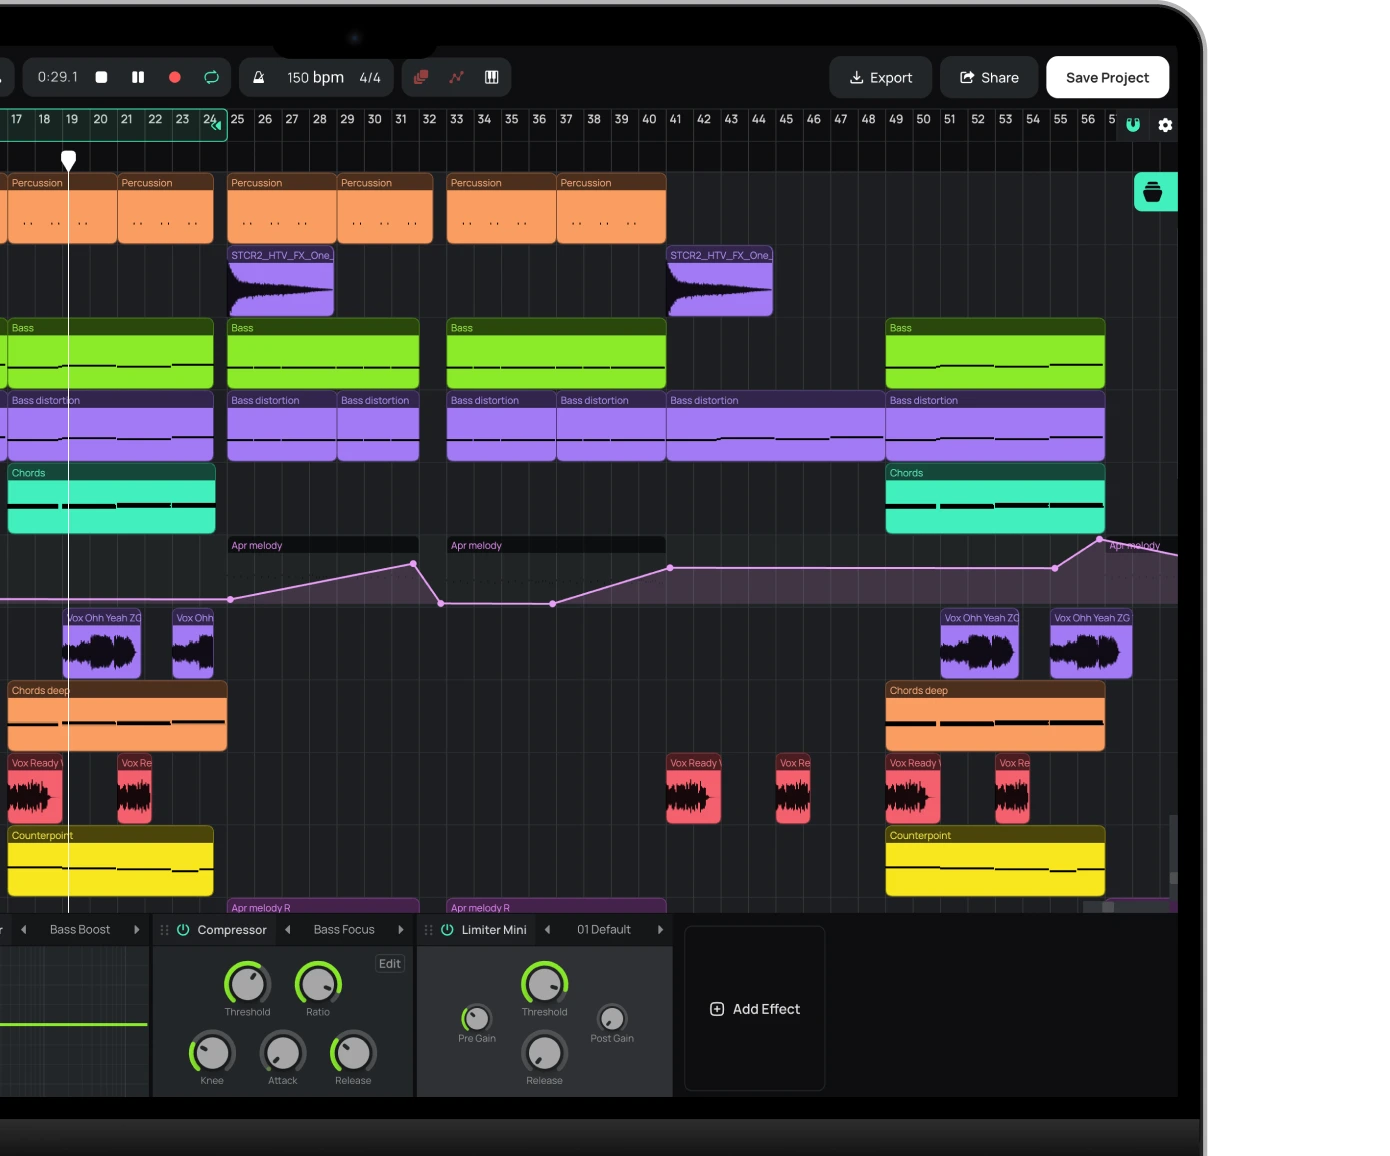
Once the sequence is determined, the individual tracks can be processed. Typically, this involves six primary stages: noise reduction, meticulous equalization, compression, overall equalization, limiting, and dithering.
Additionally, it is crucial to ensure coherence and compatibility among the tracks on the album, especially if they were recorded or mixed by different engineers. Utilizing equalization and compression, the goal is to achieve a consistent and harmonious sound.
After processing the tracks and verifying the final volume levels, exporting the tracks can commence. If the album is to be burned onto a disc, defining the gaps between tracks and creating a Red Book CD copy for the publishing company is necessary. Specialized disc mastering software, like WaveBurner, can be utilized for this purpose.
For those regularly publishing tracks online, converting them into various formats is important. Furthermore, creating a high-quality version of the track, suitable for future adjustments and re-mastering, is another significant task to undertake.
Stereo File Processing
Taking a closer look at the processing steps, it’s important to note that they don’t necessarily have to follow a fixed sequence, and sometimes altering the order can lead to even better results. However, I will present the sequence that I most frequently utilize.
An essential initial step is noise reduction, particularly when re-mastering old analog recordings. Background noise, hiss, clicks, and pops need to be eliminated from the mix before proceeding with further processing. Tools like iZotope RX5 are well-suited for this task.
Surgical equalization can be employed to remove unwanted artifacts from the sound. Additionally, filters can be applied to cut off undesirable sub-lows (anything below 20-30 Hz).
Compression is another crucial element used to control excessive volume in the track. Adjusting the attack time allows for the addition of “punch” (with a slow attack) or density (with a fast attack) to the sound. Modifying the release time can increase volume (with a quick release) or create a more musical compressed signal (with a slow release). It is common practice to use multiple compressors in a chain, each providing 1 to 3 dB of compression.
For more precise control over individual frequency ranges in the mix, multiband compression can be employed. For instance, if a hi-hat sounds too loud in a track, you can compress only the frequency range it occupies instead of using EQ to cut that frequency. Multiband compression can also be utilized to enhance the low end of a mix without affecting the rest of the frequency spectrum.
After removing unnecessary elements from the mix and applying compression, the final equalization of the track is performed. If you notice excessively strong lows or highs in the mix’s sound, they can be corrected using an equalizer. Any equalizer is suitable for this purpose, as it’s crucial for a track to sound good across a wide range of different systems. Linear phase EQs are particularly useful for mastering, as they seldom cause phase issues, especially with minor mix adjustments. Analog EQs and plug-ins that emulate analog EQ characteristics also excel at adding character to the mix.
Ultimately, when working with a 24-bit or higher track, it needs to be converted to 16-bit and dithered for export. Dithering should only be applied once, at the very end of the mastering process. Neglecting to use dithering and exporting the track in 16-bit format alone may result in sound distortion. Bit depth reduction with dithering is a crucial final step.
This overview provides a general outline of the various techniques employed in mastering. In addition to the six operations described, there are numerous other tools and techniques that can be utilized, such as stereo enhancement, the mid/side technique (separate processing of the center and side channels), among others. However, this material focuses on a detailed exploration of these six operations.
Home mastering equipment
When examining the processing steps more closely, it’s important to recognize that they don’t have to adhere to a fixed sequence, and sometimes rearranging the order can yield superior results. However, I will outline the sequence that I frequently employ.
An initial and vital step is noise reduction, especially when remastering old analog recordings. The elimination of background noise, hiss, clicks, and pops is necessary before progressing with further processing. Tools like iZotope RX5 are well-suited for this task.
To remove unwanted artifacts from the sound, surgical equalization can be employed. Additionally, filters can be applied to remove undesirable sub-lows (below 20-30 Hz).
Compression plays a crucial role in controlling excessive volume within a track. By adjusting the attack time, one can add “punch” (with a slow attack) or density (with a fast attack) to the sound. Modifying the release time can increase volume (with a quick release) or create a more musical compressed signal (with a slow release). It is common practice to use multiple compressors in a chain, each providing 1 to 3 dB of compression.
For precise control over individual frequency ranges in the mix, multiband compression can be employed. For example, if a hi-hat sounds too loud in a track, it’s possible to compress only the frequency range it occupies instead of using EQ to attenuate that frequency. Multiband compression can also enhance the low end of a mix without affecting the rest of the frequency spectrum.
Following the removal of unnecessary elements from the mix and the application of compression, the final equalization of the track is performed. If excessively strong lows or highs are present in the mix’s sound, they can be corrected using an equalizer. Any equalizer is suitable for this purpose, as the goal is for the track to sound good across various systems. Linear phase EQs are particularly beneficial for mastering, as they rarely introduce phase issues, especially when making minor mix adjustments. Analog EQs and plugins that emulate analog EQ characteristics are also effective in imparting character to the mix.
Ultimately, when working with a 24-bit or higher track, it is necessary to convert it to 16-bit and apply dithering before exporting. Dithering should only be applied once, at the very end of the mastering process. Neglecting to use dithering and exporting the track solely in a 16-bit format can result in sound distortion. Bit depth reduction with dithering serves as a crucial final step.
This overview provides a general outline of the various techniques employed in mastering. In addition to the six operations described, there are numerous other tools and techniques that can be utilized, such as stereo enhancement, the mid/side technique (separate processing of the center and side channels), and more. However, the focus of this material is to provide a detailed exploration of these six operations.
Start creating beats and songs in minutes. No experience needed — it's that easy.
Get started