
2.8 Automation
Automation in Amped Studio allows you to change track parameters over time. Here’s how you can use this feature:
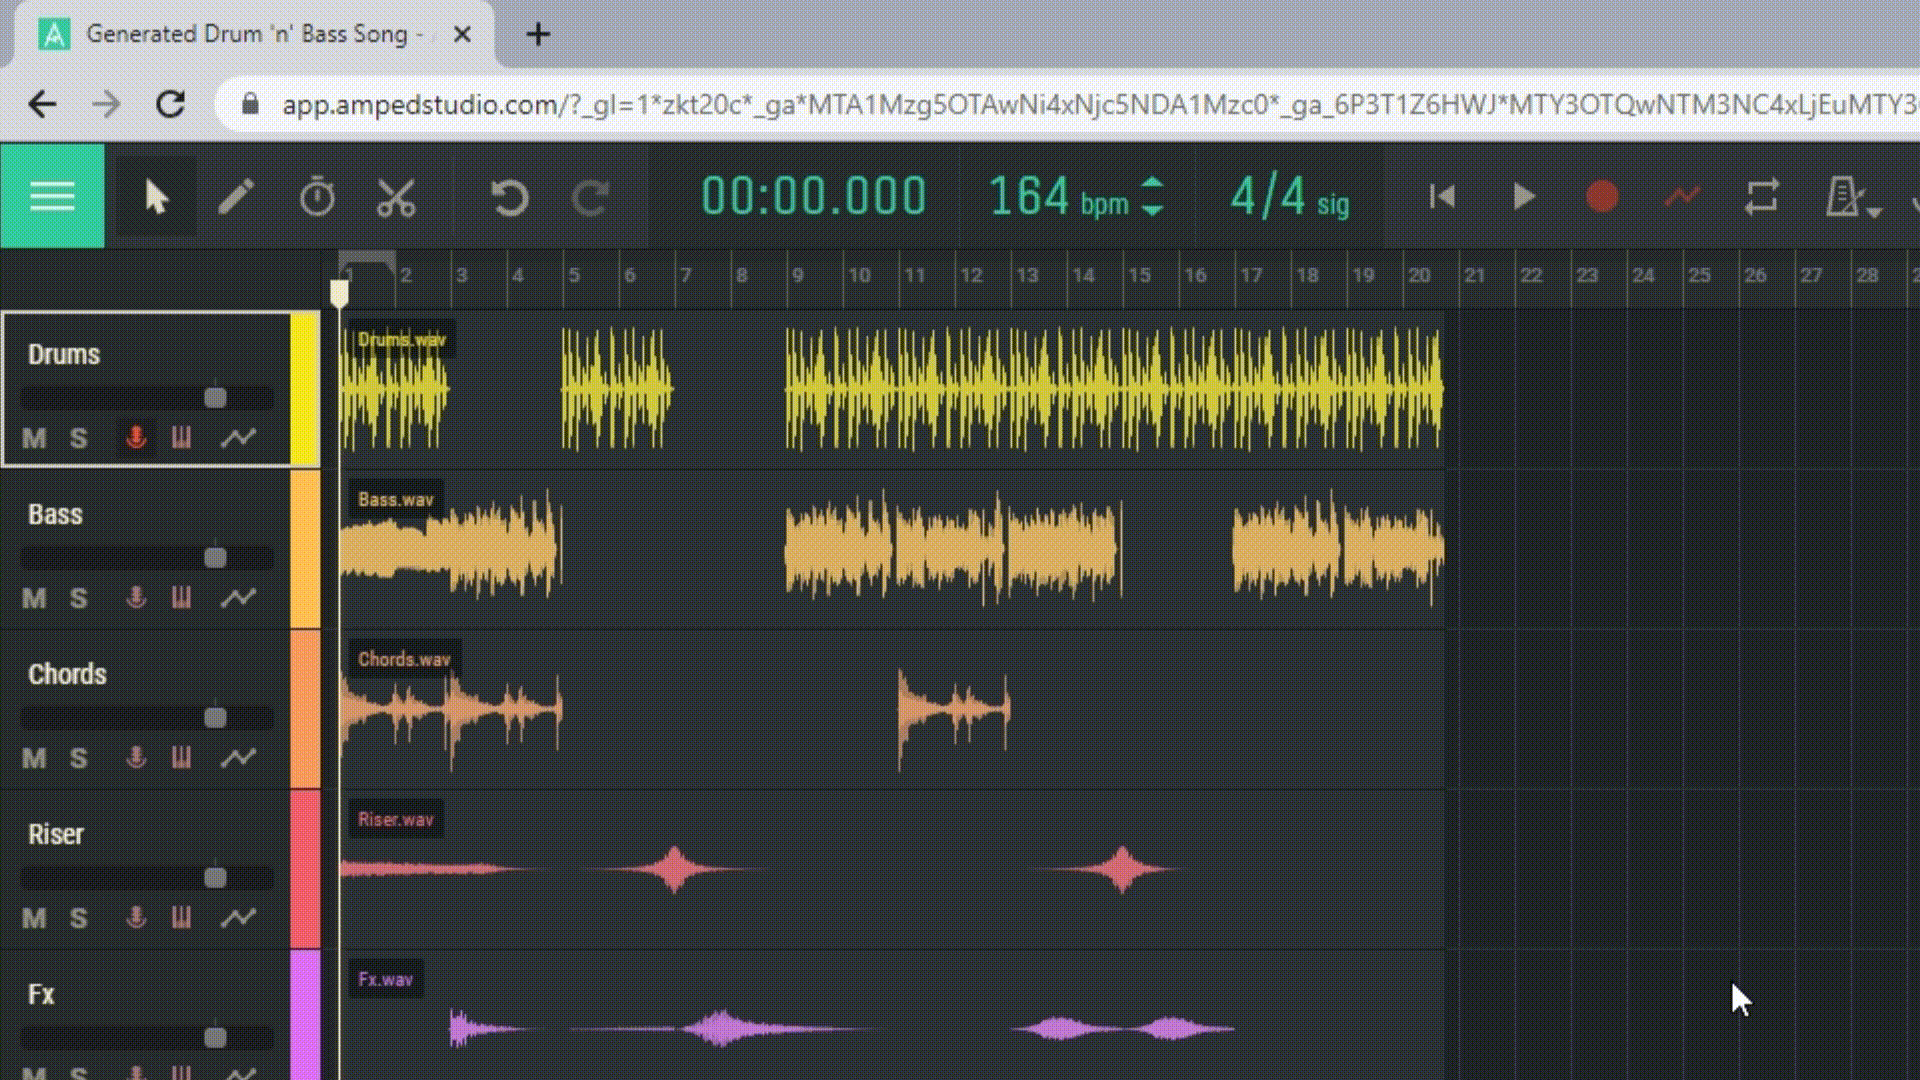
2.8.1 Opening the automation list
Click the automation button on the track panel to see the automation list. The volume and panorama of the track are available by default.
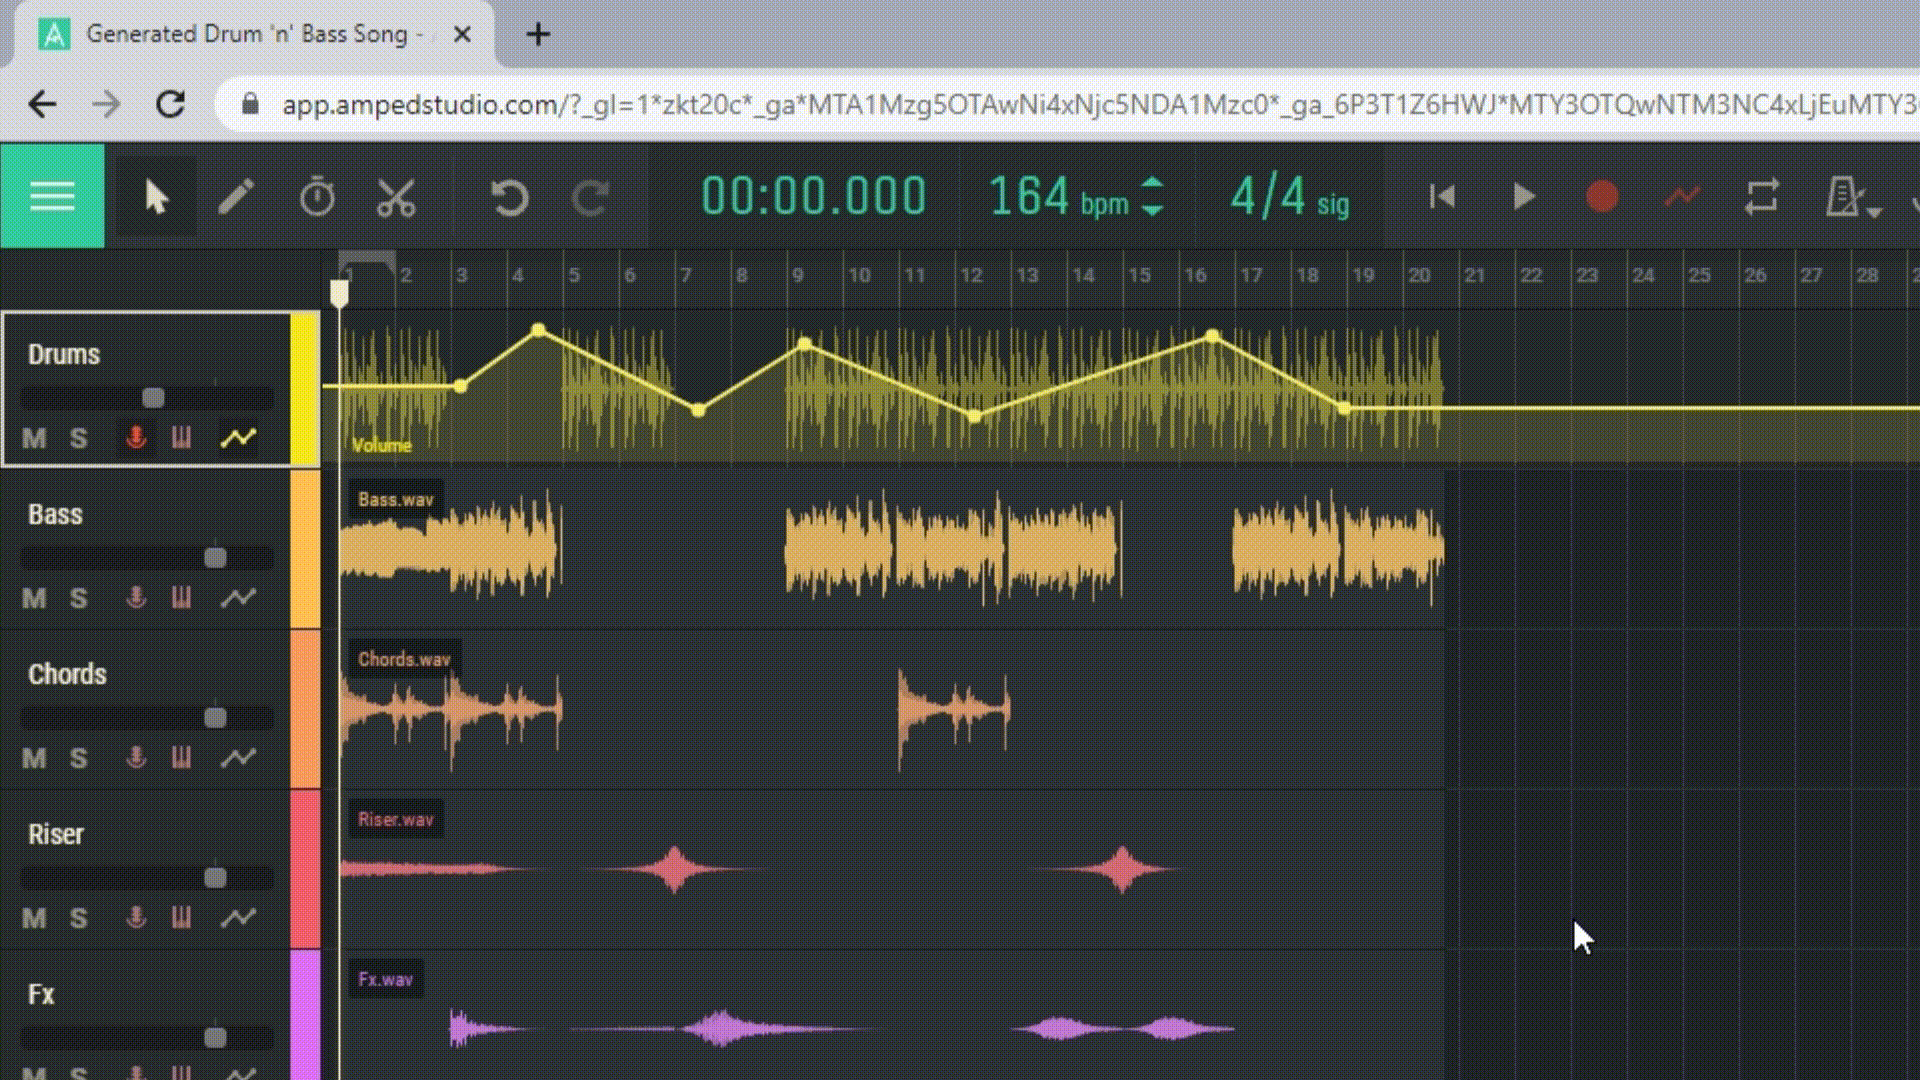
2.8.2 Working with the automation line
After selecting a parameter from the automation list, you will see a gray line appear over the track in the arrangement. This is the current inactive automation line. Click on the gray line or double-click above or below it to add new automation points. Add multiple points and drag them to create the desired automation curve.

2.8.3 Selecting and deleting automation points
You can select multiple automation points by dragging a box around them with the cursor. Delete points by pressing backspace or delete on your keyboard.
2.8.4 Recording automation
Amped Studio also allows you to record automation in real-time. This can be helpful if you want to manually control a parameter during track playback and record these changes. Simply enable the recording mode and start playing the track, then begin adjusting the parameter you want to automate.
2.8.5 Selecting a device and parameter
All devices on this track are located in the left column. Select a device, and on the right, you will see a list of all available parameters for automating this device. Click on a parameter’s checkbox to show or hide it in the automation list. Then, enable the recording mode and start playing the track, then begin adjusting the parameter you want to automate.
With automation, you can dynamically change the sound of your track, creating more complex and interesting musical pieces.